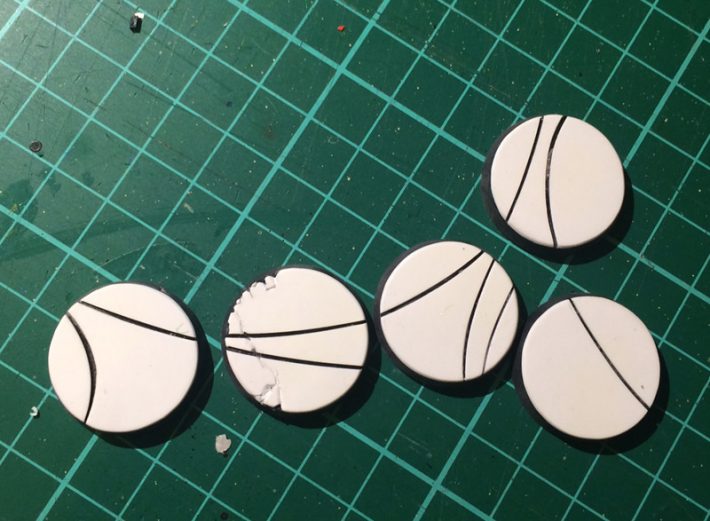
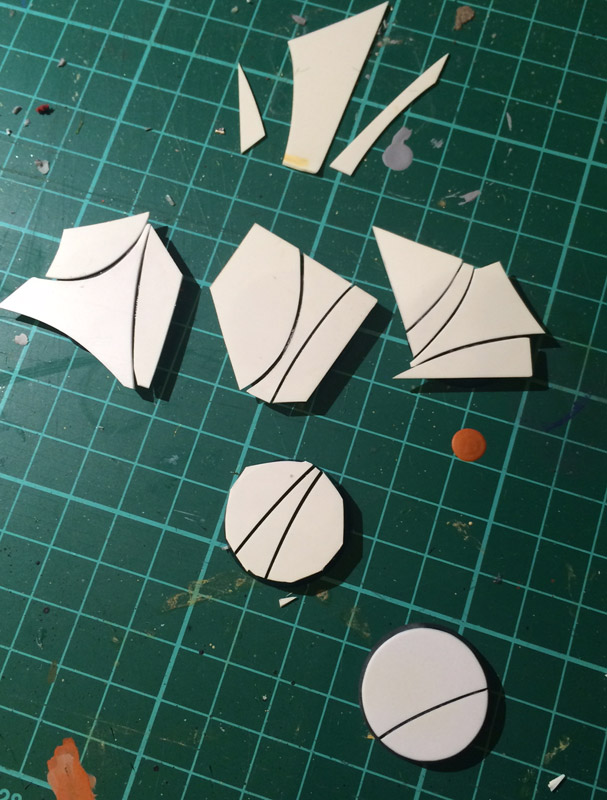
Using 0.5mm plasticard, the process of creating a basic Eldar base is fairly straight forward. Simply cut up the plasticard into gently curving shapes (top). Then glue to the base surface with a slight gap. Then rough cut to the base shape before trimming and sanding to as perfect a circle as I can manage.
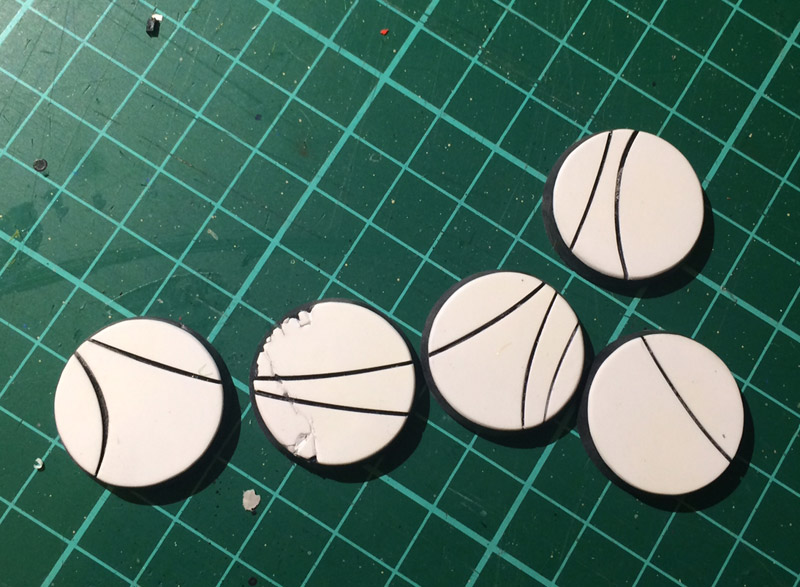
Of course, with approximately 150 miniatures to base there is no way I am making that many manually. The plan is that these first 5 will be cast in resin a few times, each time modifying the original to create more variations – e.g. adding some height to some of them, cracking the wraithbone for a more ruined look on others (as I have started to do on the second from the left), and adding other detritus… thus, from these 5 I aim to create 20 variations of 25mm bases that I can then cast en-masse for use across the army. With the addition of flock, tufts, dirt etc.. that will be more than enough variation from one infantry model to another.
So here we go… as bases can be flat on one side, I’m going to make this a one piece mould. To do that, I glue the bases to a sheet of plasticard, then build a mould mox out of lego and glue that to the plasticard as well. It doesn’t need to be a deep mould – I’m aiming for one brick deep, so I build the box two bricks high.
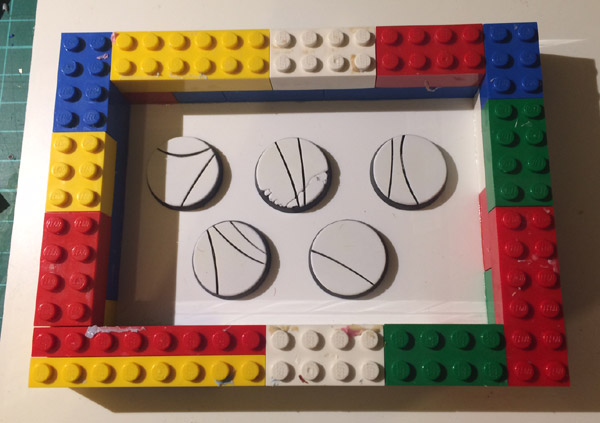
Much of my previous mould pouring for the jetbikes has been done by eye but at some stage I worked out a formula for the required weight of rubber to fill a mould box made from lego. 100g of rubber will fill an area of about 120 lego squares to one brick high, 60 lego squares 2 bricks high and so on. It’s good to know how much to mix up otherwise you have to err on the side of mixing too much and you end up wasting quite an expensive material. As it happens my mould box for these bases has an internal area of 126 squares (9 x 14) so I mix up 99g of rubber – 90g of the base and 9g of catalyst. A reasonably precise scale is important to avoid mixes that never set or set too hard.
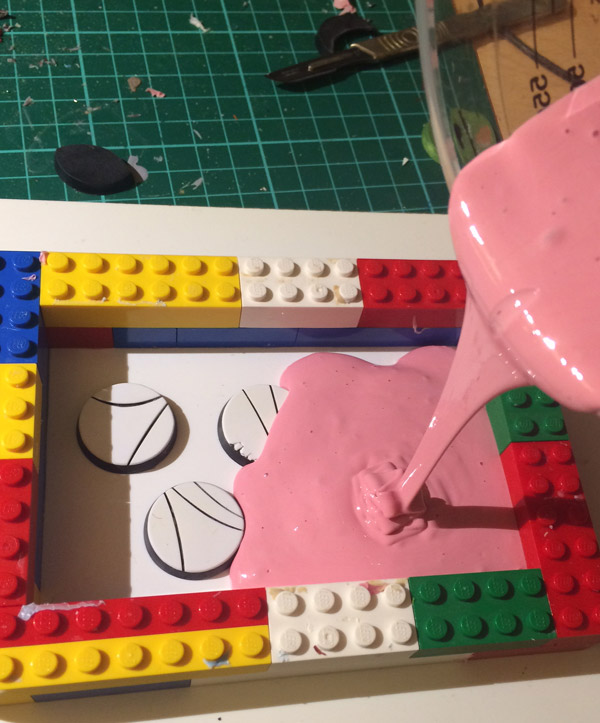
Then, pour away. As usual pour from one corner and one corner only, into a blank space letting the rubber slowly envelop the parts and find it’s own level.
I tapped the bottom and knocked the mould from side to side to dislodge any air bubbles that can cause casting defects later. Now it’s just a waiting game… a 24 hour waiting game to be precise! This is the bit I’m worst at, between now and going to bed, and in the morning before work, I can guarantee I’ll be prodding the rubber restlessly, wishing it will somehow cure faster so I can see how the mould has come out.