This month I first rolled up a task to complete the characters from Blackstone Fortress, but after some thought decided to swap for the Elucidian Starstriders – a similar number of models in a similar sort of setting (deep space adventuring) – because, well as much as I enjoy rolling the dice to decide what to paint each month, this isn’t “The Dice Man”. Although the BSF models are very interesting, I had recently played some Kill Team games and was looking forward to playing more, making the Rogue Trader outfit a more sensible option.
Most of my projects have some sort of “shtick”. With these models I wanted to use a more painterly, gestural style, with a limited pallet using just the red to yellow corner of the colour wheel. In other words I’m going to ape the “Blanchitsu” aesthetic, something that has had a regular White Dwarf feature for years and has many imitators. Still, I have never tried it, and I do like the look a lot.
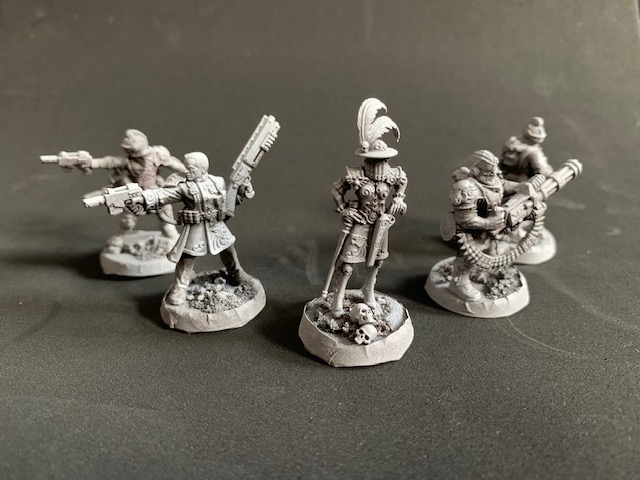
The first thing I did after assembly was mask the base edges – a little roughly in places. I had an idea that this would allow a small amount of overspray and paint leakage onto the rim
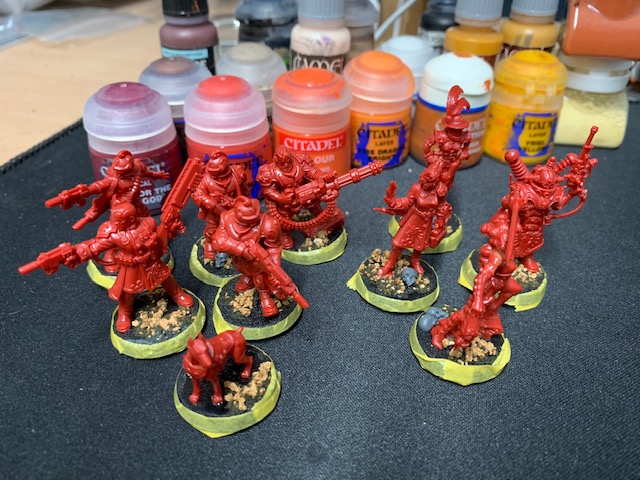
Then I applied my usual zenithal undercoat – black from below, brown from the side, and white from above, followed by a black wash in the shadows to enhance their depth.
Then as I started painting I decided the intricate details on the robes and coats of the Starstriders were definitely not for me. There is a lot of baroque detail on the armour plates already, and the additional detail on the coats was hindering me quickly applying layers of colour. So I took a scalpel to all the models and hacked/scraped off the details. Because of the look I was going for I wasn’t concerned about leaving a rough finish.
Then I began to paint in earnest. The general method is to lay down one or two coats of a base colour – not bothering to apply this over any areas that have been pre-shaded, as they will just stay as dark shadows. Then more washes of brown and black and, while these are still damp, I start stippling and layering in highlights and additional colours to enrich the finish. I will generally completely finish an area (such as the coat) before moving on to the next – not very efficient, but keeps me interested.
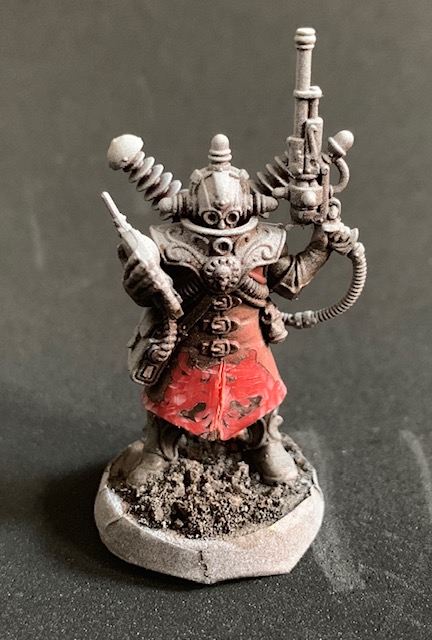
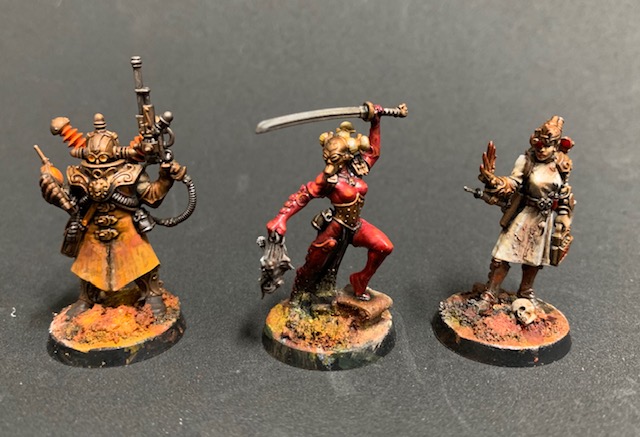
Stripping off the tape from the base rims after loading the bases with pigments and fixing it with varnish was an exciting moment and I was pleased to see the effect, i.e. that the base rim rather than being a perfectly finished playing piece base is more of an extension of the paintwork. The death cult assassin in the middle here shows the pre-shading at work – almost the entire right leg and the loincloth were in the shadows of my zenithal undercoat so I have just left them dark.
Here we have Elucia Vhane, a model I thought to take some step by step photos to attempt to document the rather chaotic nature of painting this way.

- The model with it’s zenithal undercoat and some additional black washes to deepen the shadows and give a sketched impression of black boots. I have also applied some agrellan earth to the base in patches, including on the skulls.
- I have painted in the skin and clothing, and wet blended the feathers from white to orange.
- This photo shows well the darkened areas of the model that haven’t been touched with the white zenithal undercoat, and how I’m not doing much to put colour into those areas – under the feathers and the backpack powerplant, for example.
- Here I applied a agrax earthshade wash to the clothes and hat and a black wash to the skin. With the black wash out I deepened the shadow under the holster even more.
- I highlighted the feathers (the spine and the individual feathers) and the clothes.
- Various rust tone pigments added to the base.
- Now a black wash around and between the feet, brown washes on the skulls, then yellow paint and dust pigments (applied together)
- I blow excess powder off and this sometimes causes it to adhere to the feet in interesting ways. Here the right heel and foot have been highlighted with the dust powder, something I liked and decided to keep. I’ve also painted the metal areas with bronze.
- Agrax earthshade washes on the bronze.
- Details on the clothing highlighted in orange red, up to orange.
- …and from the front.
- The lace parts (gloves, sleeves, veil) painted in a mixture of white, grey and bone. I also started to highlight the skulls with the same mix. Leather areas painted brown
- From the back. Also some more highlighting of the detail on the skirt.
- Final details picked out and highlighted here – blending the holster, highlighting the lace, painting the bionix eye and the laces on the bodice. I think I highlighted the skulls even more to pick them out a bit better.
- Finally removing the masking tape from the base to check the final effect. No more work was needed after this on this model.
- From the back. I had also quickly done the backpack power generator in gunmetal with a black wash.
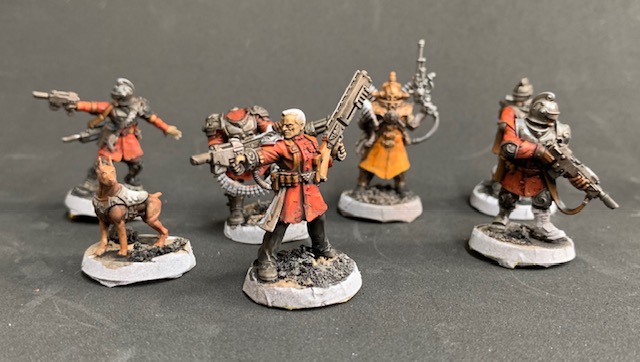
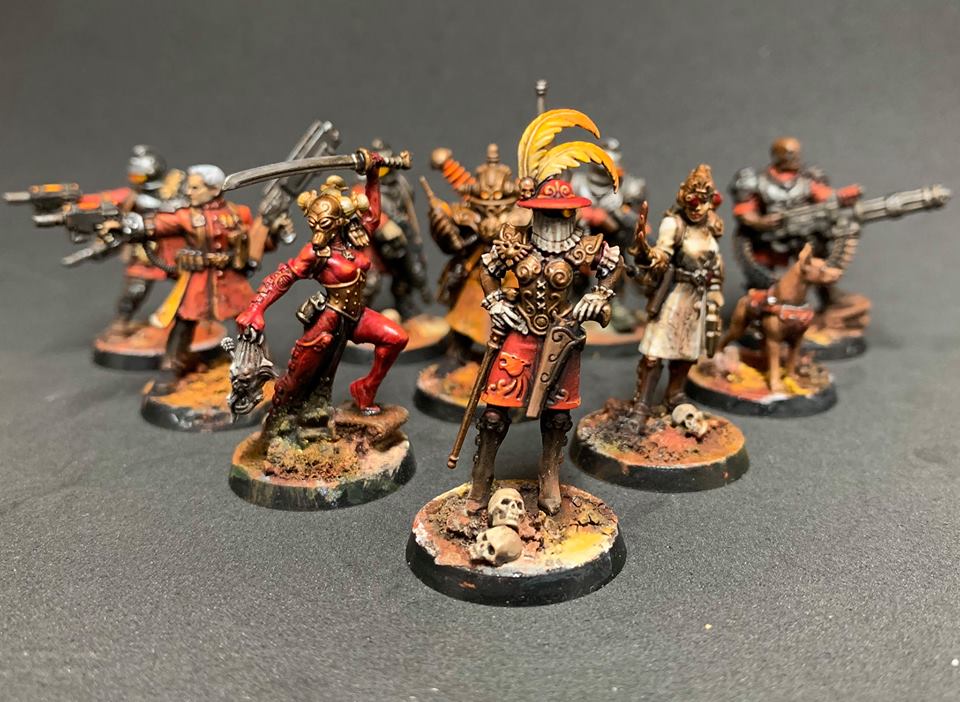
Here’s the complete crew, completed in record time (for me!)
Ben
How did you base these?
Admin
Hi Ben. The starstriders had skulls glued on and patchy rubble using sand and cork bits. For painting see steps 1, 6, 7 and 8 in the step by step. In short, I painted them very much as part of the model, often using the same washes, just with the addition of some weathering powders in the mix.