I wanted a miniature display cabinet in the man cave, but couldn’t find anything that was the right size and of a reasonable cost so built one instead.
I used some old pallet wood to make the cabinet. The pallet in question was particularly aged and discoloured which gives the cabinet a rustic sort of appearance. As the wood is distressed and cracked and has old rusty nail holes in it, it also means the joinery didn’t have to be perfect. This is good as I’m not very precise when it comes to this sort of thing.
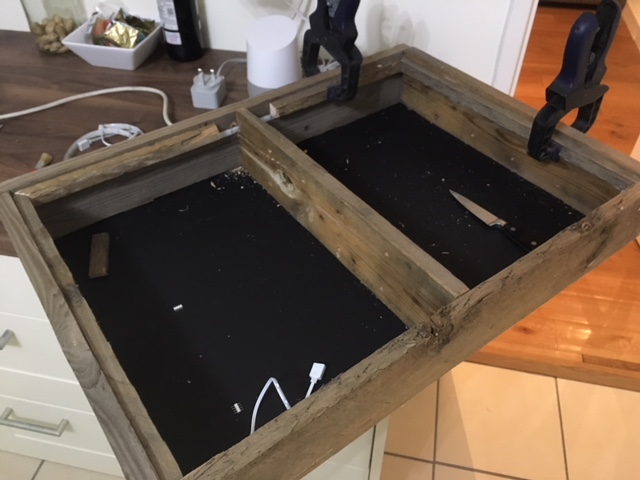
I cut the pallet wood to length and joined the pieces with dowels and wood glue. I painted some 3mm MDF with blackboard paint and mounted it to the back of the cabinet with panel pins. I could have left the back open (to show the dark blue wall behind the cabinet) but a back board adds a lot of strength to any piece of furniture and blackboard paint is very flat and neutral so I thought it would show off models better (the wall paint has a sheen so would have reflections from the cabinet lights).
Some strips of wood run off with a circular saw will conceal the LED lighting strip from view and act as a door stop. These run across the top and down the sides of the cabinet. They were simply glued in with wood glue and clamped in place while the glue dries.
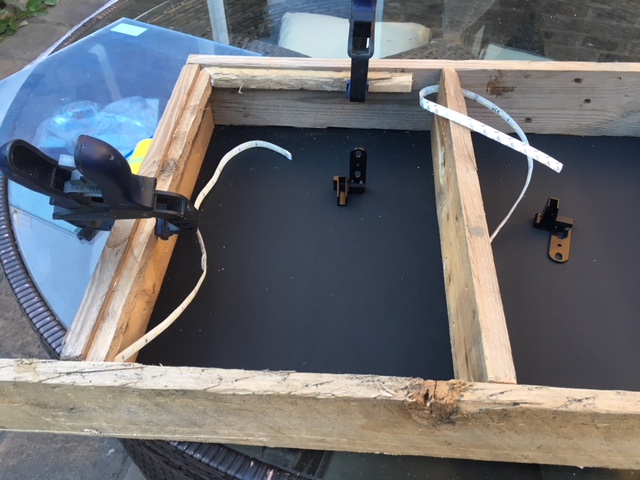
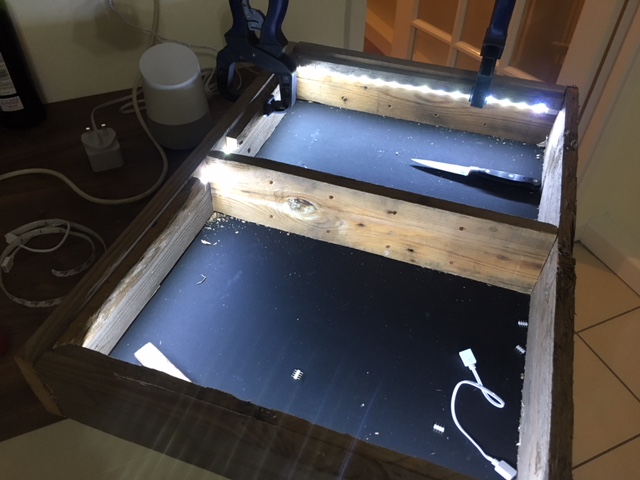
I used the drill to half drill, half gouge some holes for the LED strip to pass through – one at the bottom right for the cable to enter the cabinet, one in the central divide and one in the bottom left where the strip would exit the cabinet and enter the photography box. I should have cut these before assembly but got excited and rushed ahead. With the holes gouged, I peeled off the backing film and stuck the LED strip into place.
I made sure to test the lights as I went. The strip comes in ~40cm lengths and connects together with simple connectors to make a strip as long as you need. It gives off a nice bright, white light that should be great for displaying some miniatures.
I glued small cleats cut from offcuts of pallet wood to rest the shelves on. Each half of the cabinet is A3 sized. This allows for four shelves spaced 8cm apart with the bottom shelf 10cm from the bottom of the cabinet – comfortably room to display most models.
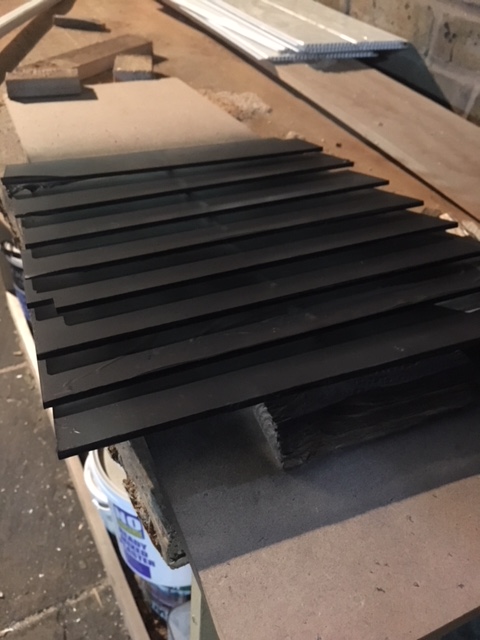
These shelves are made from clear acrylic cut to size with a combination of scoring and snapping and a jigsaw. Scoring and snapping met with limited success – the acrylic is slightly prone to shattering along a line of its own choosing, rather than following the scored lines even when scoring quite deeply on both sides. I had to clear up many ragged edges with the jigsaw.
The acrylic comes coated in some protective plastic. Before peeling this I sprayed the edges of the shelves in chaos black. This makes the shelves look neater. Otherwise the way light refracts through the acrylic makes the edges quite stark in appearance.
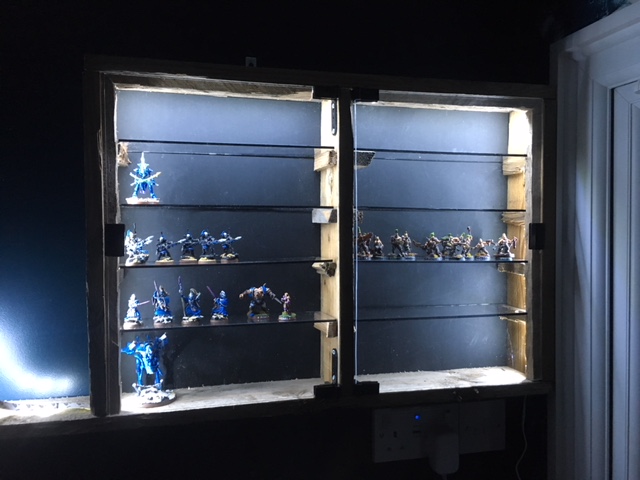
The unit sits just above the light switches and sockets in the cave, mounted as any other shelf with brackets below and also small L bracket at the top to stop it falling forwards. Once in place I added the shelves and the door panels via some nifty little three piece glass cabinet hinges. There is a socket just below where the LED cable comes out of the bottom of the cabinet and with the shelves and doors on I wasted no time populating it with the first miniatures to hand, turning off the main lights and seeing the effect of the illumination…
Believe it or not I’ve wanted a display cabinet for at least 12 years but never found the right situation.
Life goal achieved.
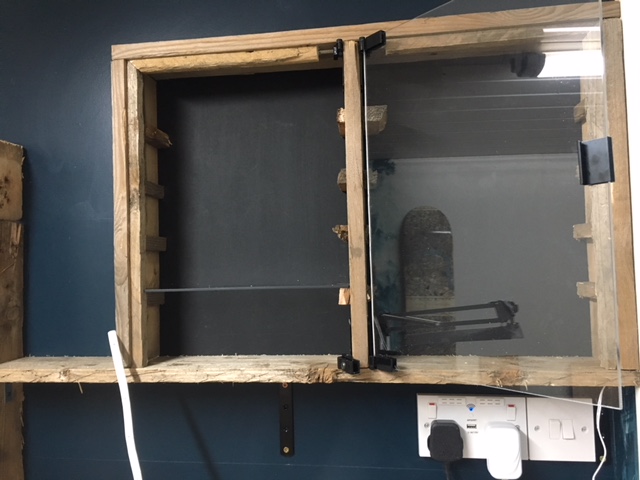
This photo vindicates the use of blackboard paint to back the cabinet – as you can see on the left, the area destined to become a (failed) photography box, which currently has no backing and reveals the satin dark blue paint behind, shows very bright reflections that would have made looking at the miniatures in the cabinet much more difficult.
(The photography box failed as this area, 3″-4″ in depth, is not sufficient either to allow models to sit far enough back from the lights nor to allow enough depth of background – one day I will turn this into a separate mini display cabinet for very tall models, e.g. my Avatar, probably the model I’ve spent most time painting in my entire life, doesn’t fit in the main cabinet so is relegated to storage).