For this stage you’ll need a dwarf. I picked up a few from different kits to try out, using a well known bits site. Eventually I decided I liked the look of the Ironbreakers armour the most but your mileage will vary. I don’t know which kit the head I’m using comes from – I just selected a variety of heads that took my fancy from the bits site.
The dwarf needs to be cut in half a the waist. Obviously we will use the legs and discard the torso. Temporarily tack a head in place and then keep test fitting the legs, shaving off height from the waist until the dwarf looks right in the suit At this stage it will became obvious that you need to remove the Centurion belt that we left on earlier (but NOT the buckle). In my case I did have to carve away the back of the buckle to fit the contour of the armour on the dwarf legs. Eventually I got to a point where the armour around the dwarf hips makes a near seamless join with the Centurion torso – making it look like part of the same piece.
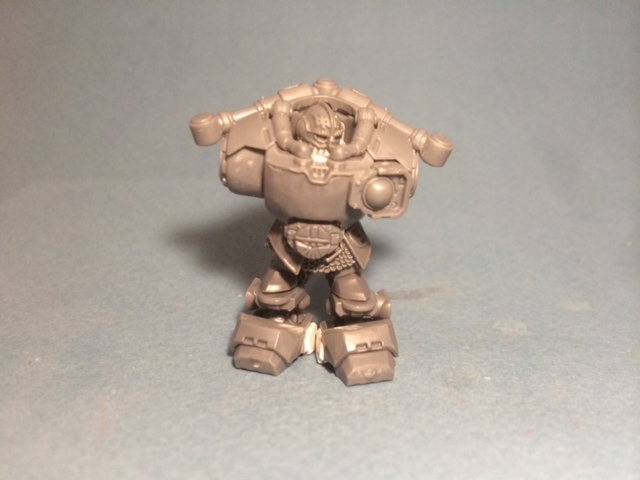
A similar process is done with the head. You’ll need to remove a surprising amount of the beard before the head looks correct and not like the dwarf has a massively elongated neck. Pro tip – don’t glue the head on yet, as you’ll probably want to fine tune where he’s looking once everything else is finished. This is an important consideration for a convincing pose.
Once the legs and head are glued to the servo armour torso you should be able to balance the dwarf on the foot platforms. It’s coming together nicely, eh? I decided not to glue the feet to the platform just yet in case some adjustment is needed when attaching the leg servos. I also added a small dwarf icon to the belt buckle.
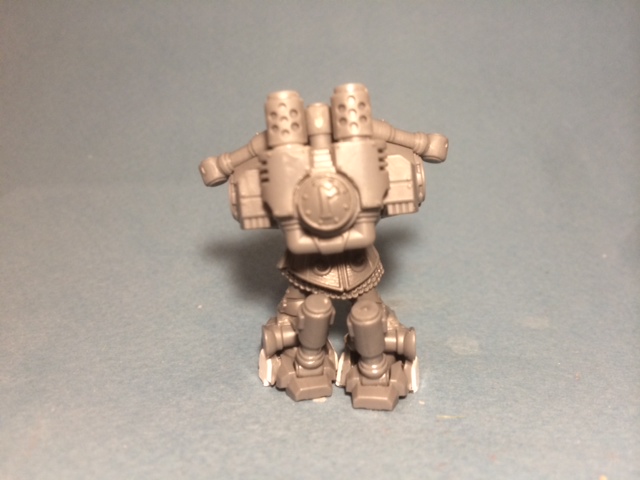
Next up – arms & servos.
Neil Cook
Looking great, thanks for continuing this project.