I’ve progressed 4 Chaos Warriors to the point where they now need detail sculpting on them. Yes, 4! Nobody ever said this would be a quick project.
Although I dislike the stock Chaos Warrior models even I couldn’t bring myself to start hacking up my previously painted Warriors just for their boots. So I have built a mould for these, two of which I modified so they are more suitable for the other foot. The stock models only have two feet – a walking left foot and a flat right foot. My mould has a walking left and right, and a flat left and right. Only two Chaos Warriors were harmed during the making of this mould. And, the same applies to the stock Warrior cloak which I will be using in various hacked up and bent forms to make my new cloaks. I’ve covered the intricacies of mould making and casting elsewhere (notably on my Eldar Jetbike project) so won’t go into detail here.
Before I crack out the Procreate, I thought some final pre-sculpting shots would be useful to allow later comparison.
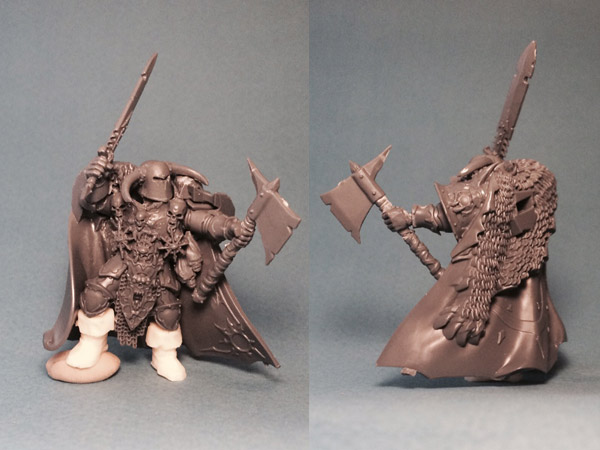
The lord based Warrior now has boots, nothing else has changed. He’ll need the following sculpting:
- Boot-knee joins
- Replace ribbed marine armour in the arm joints
- More fur to cover up where the backpack is supposed to go
- Some fur over the shoulders to continue the cloak and disguise some final Marine bits
- Left wrist resculpting
—
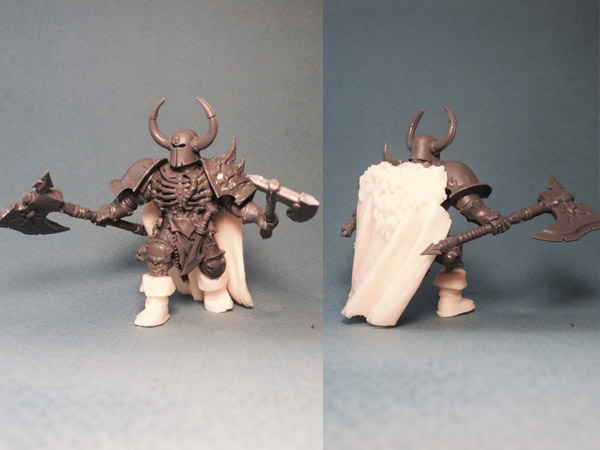
I previously showed this guy with a bare head but eventually decided to go helmeted. He’ll needL
- Boot-knee joins
- Hip armour plates
- Cloak fur over the shoulders and down the chest to disguise the tentacle that used to come from the Marine’s mouth
- Replace the ribbed armour in the arm joints
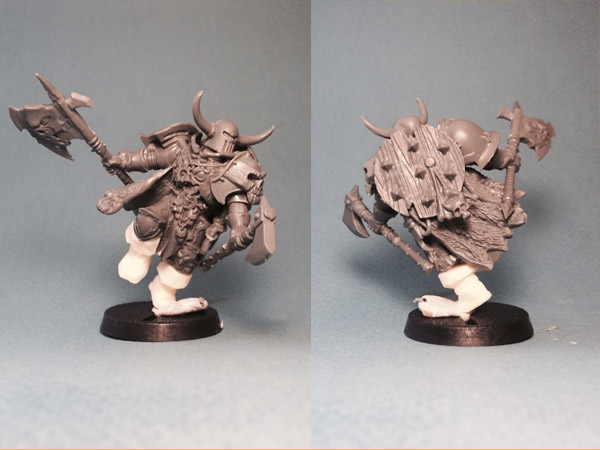
This is our first Aspiring Champion based model. He now has boots and more cloak than before. He’ll need:
- The two parts of the cloak blending together and joining properly with the model, including over the right shoulder to disguise the Marine parts there
- Boot-knee joins
- Hip armour
- Replacing the ribbed armour in the right arm
—
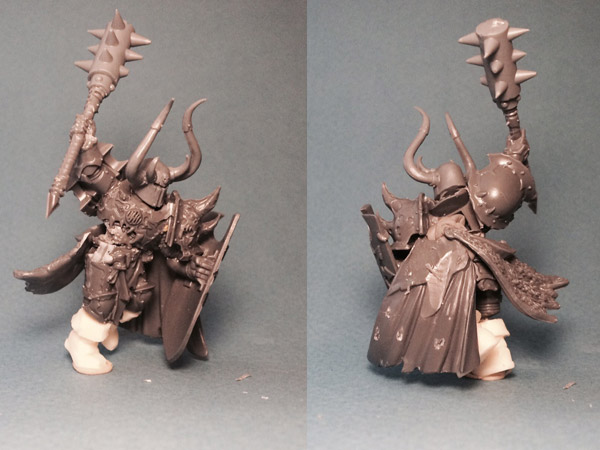
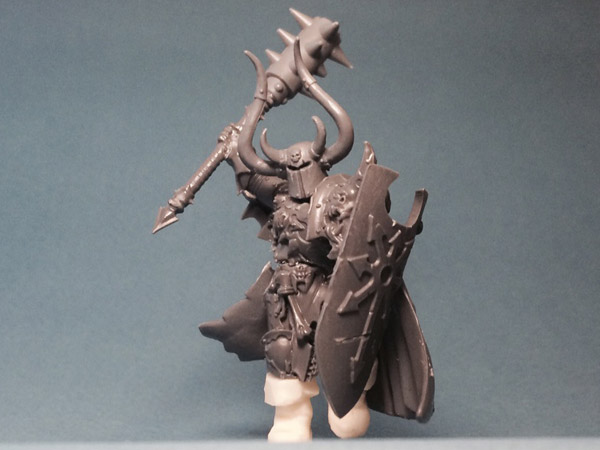
This guy needs by far the most work given he doesn’t actually have a back and his two cloak parts are very different. He’ll need:
- Boot-knee joins
- Replacing ribbed armour in arm and knee joints
- Extensive furs to complete the back and join the two cloak parts
- Fur over both shoulders to disguise cutting and gluing
- Elbow armour where the shield arm has been glued
- Something to replace the vent on the chest
- The torso rejoining properly to the legs
- Hip armour
Note the mace head, which I took from the Black Orc kit. Big, isn’t it?
—
A fun parting shot from the persective of some unlucky sod.