Back in October last year, friends of mine began to get their Trench Crusade kickstarter pledges delivered. I had not backed the game but as someone with at least a passing interest in wargaming I was of course aware of it and had already kitbashed a small force (not yet blogged, but will be in due course).
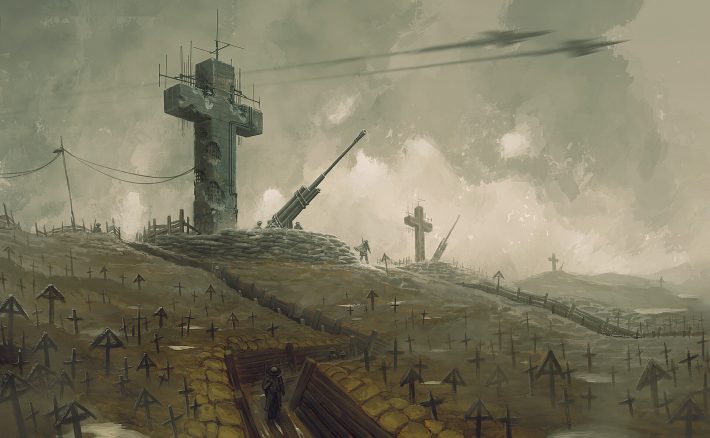
It’s a very evocative setting with lots of gruesome, stunning artwork. At the time in question I was itching to start a new project and I was particularly inspired by this image from the rulebook:

Yes, this all started with a rendition of that crucifix emplacement, and it will be covered on this blog in good time, but obviously the project quickly snowballed because I’m writing about modular trench battlefields here.
So, what would that crucifix emplacement go on, exactly?

Options for trench battlefields
I had discussed with friends how best to make a functional trench battlefield in a way that looks good and isn’t simply a fully scenic fixed battlefield, and the general concensus, and one I’ve seen on YouTube quite a lot, is to create the raised land parts, edged with trench revetment detail, and then arrange these on a battlemat in a way that leaves trench-like corridors between the raised sections. However, I ultimately find this rather unsatisfying. I played around with the idea but it’s impossible to find a set of raised sections that, when put together, make a convincing pattern of trenches. The fact you cannot model the bottom of the trench, with it’s pools of fetid water, muck, grime, trench detritus and duckboards, is a huge drawback. And the storage space used by the raised sections is not hugely more than just storing full modular tiles.
As I mentioned in the intro to this project, one weekend it really just hit me – why do I keep thinking about this instead of just, you know, doing it? I’m a grown ass man with the wherewithall to buy some sheets of insulation foam, companies exist that will deliver whatever product I choose within hours, and how hard can it be, really, to cut an accurate hexagon or 12?
Before I got an answer to that last question I did a cursory bit of planning. Since I already wrote a whole article about making a modular hex trench table many years ago (for a wargames terrain magazine that never got off the ground) I already fundamentally knew it would work, but just to make extra sure, and work out how many tiles I would need to make, I cut some mini tiles from cardboard and drew on features I would likely model.
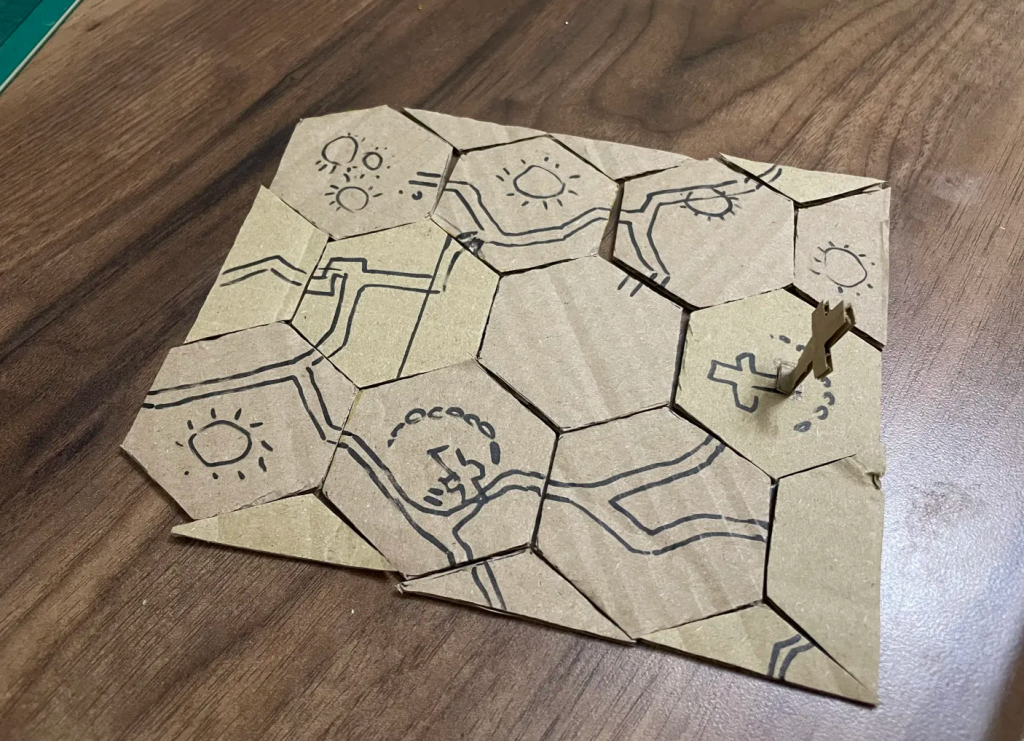
Yes, I went to the rather pointless effort of including a mini cardboard crucifix instead of just drawing it on. I did say I was very inspired by that image above!
As you’ll see, a basic pattern of branching trenches where each hex tile has three exits was planned. Given a long hexagon length of 12″, and a set of 9 full hexagons, 2 halves, 6 sixths, and (not mocked up) 2 twelfths for those missing corners, would result in a configurable 35″ x 29″ battlefield. Thats a decent skirmish sized table and that many tiles feels pretty attainable
In tests, it was quickly obvious this set of tiles would allow a lot of interesting configurations, with three basic layout styles:
- Both sides having a series of connected trenches with an area of “no mans land” between them
- One side having all the trenches, with the other side being tasked to assault them
- Placing a twisted network of trenches across the whole battlefield, predominantly in the centre, to simulate an encounter where the front line has been breached and the forces are engaged in a desperate battle amid one side or the others lines.
One thing to note is that there are some trenches that end suddenly at the tile edge. Without making lots of redundant tiles, this seems impossible to avoid but it also has a simple answer – make a small handful of scenic “trench ends” that can be inserted in those places so that the trenches do not terminate at the bare edge of another tile but have some sort of natural finish – a dugout, a fire step, a revetment, or a ladder or slope out of the trench.
And of course there should be plenty of craters, churned ground, stagnant water, and to make the most of the fact that the tiles will have some thickness, undulating ground and areas of high and low ground.
Hexagons? Really?
The benefits of hexagons are obvious. Each tile can be oriented six ways, and that makes for a number of possible battlefield layouts that I’m not clever enough to calculate but do suspect is an order of magnitude higher than using the obvious alternative – squares. On the other hand, cutting accurate hexagons is undoubtedly an order of magnitude harder than cutting out a square.
I strongly considered buying a high end flatbed hot wire cutter to ensure the highest possible accuracy. With this, one could use a guide rail set at 30° and a stop block and simply rotate the piece of foam after each cut until left with a theoretically perfect hexagon. What I did instead was print a template on paper, mount this on a sheet of ply, and then tried to cut this as perfectly as possible so that I could use it as a cutting template for each tile
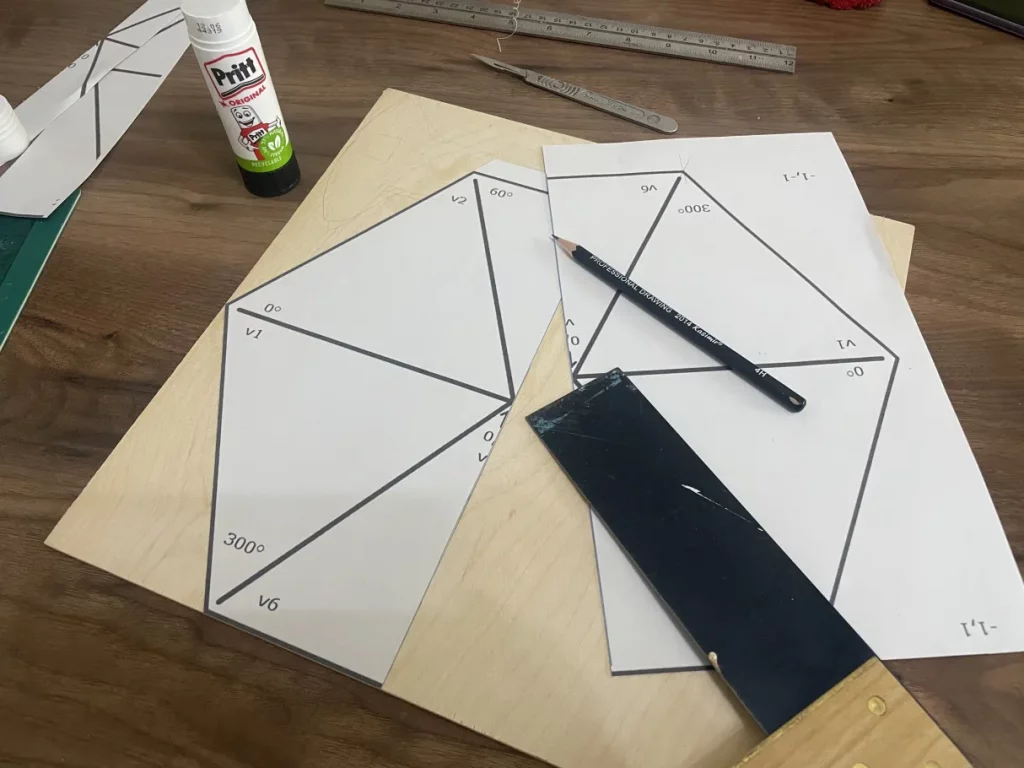
This process introduced several potential innacuracies, not least the fact that my standard home printer is only A4 which meant the hexagon printed across two sheets of paper, which I then had to mate together, before cutting the ply with the help of a straight edge and repeated strokes of a scalpel (a method I deemed to be the most accurate on available to me).
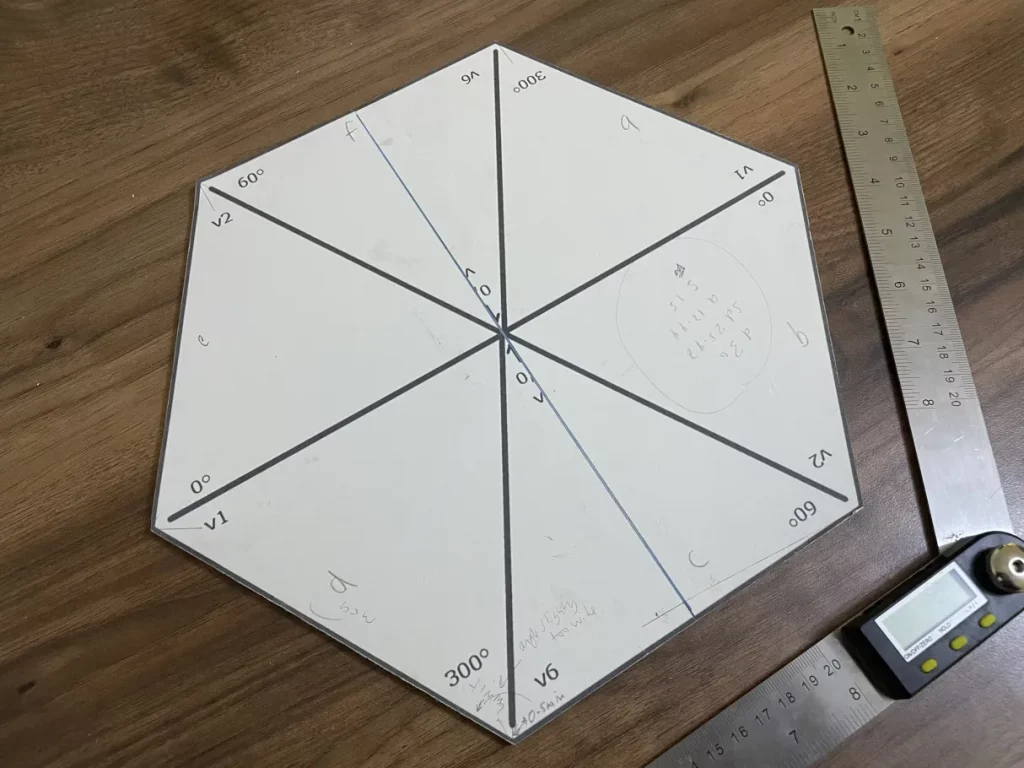
I’m quite sure the end result is definitely not a perfect hexagon, and careful measuring of my template suggests one of the diagonals is about 1mm longer than the others. That doesn’t sound like a lot, but with any shape that needs to tile, the smallest innacuracy has the potential to show up and cascade as you lay several tiles together.
What I should have done is either bought the aforementioned wire cutter, commissioned someone to laser cut a perfect template, or commissioned someone to laser cut the actual tiles, but I’m an impatient man and all of these options would have stopped me in mid-flow. At least the foam has a slight amount of give. Perhaps if I wedge them tightly together, we won’t be able to tell they aren’t perfect in the end?
Anyway, I plowed on, and started cutting. For context, day 1 was when inspiration struck and I mocked up the battlefield on cardboard. This is day 2 of the project…
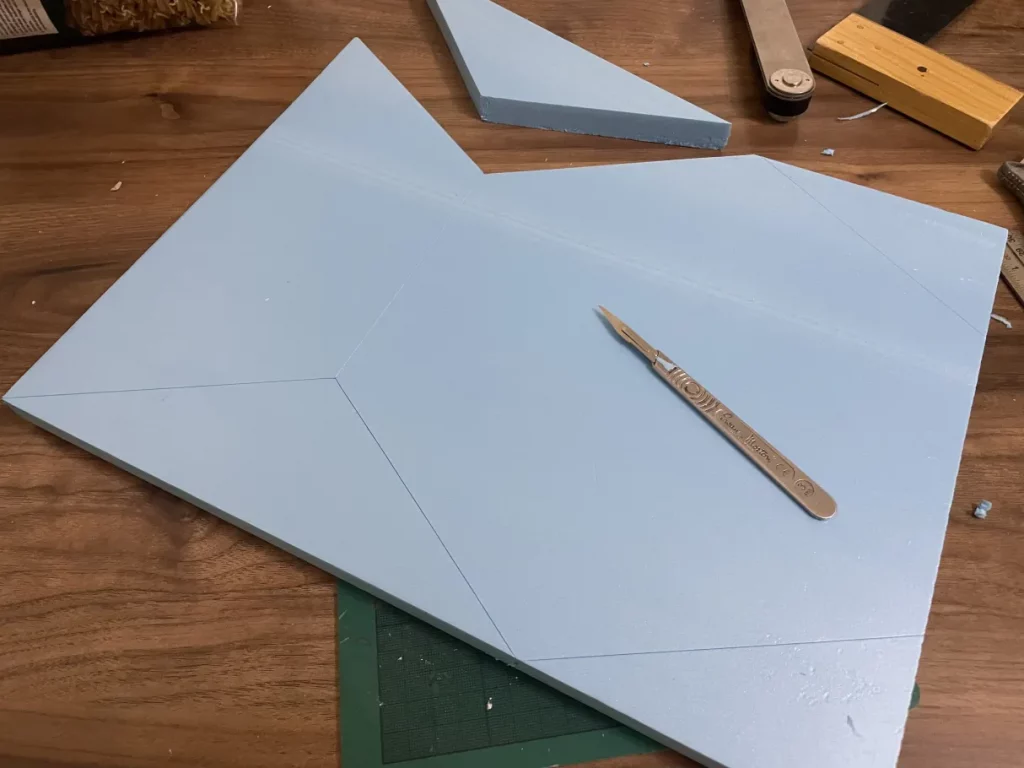
At this point something very annoying became apparent. The foam sheets retailed as 30mm x 40mm actually proved to be more like 28mm wide. If I’d have known that, I’d have shrunk my template – I can live with 28mm long hexagons. Of course, I didn’t, my template is already made, and I can’t be bothered to make a new one (see previous point about being impatient). I will have to live with tiles with two slightly blunt points.
On the plus side (and this is the sort of random geometric curiosity I find inordinately pleasing) one such sheet quite neatly makes two whole hexagons, albeit with the second hexagon being made from one half, two sixths and two twelfths. This means I will end up with the partial tiles needed for my layout as a by product of cutting out the whole hexagons.
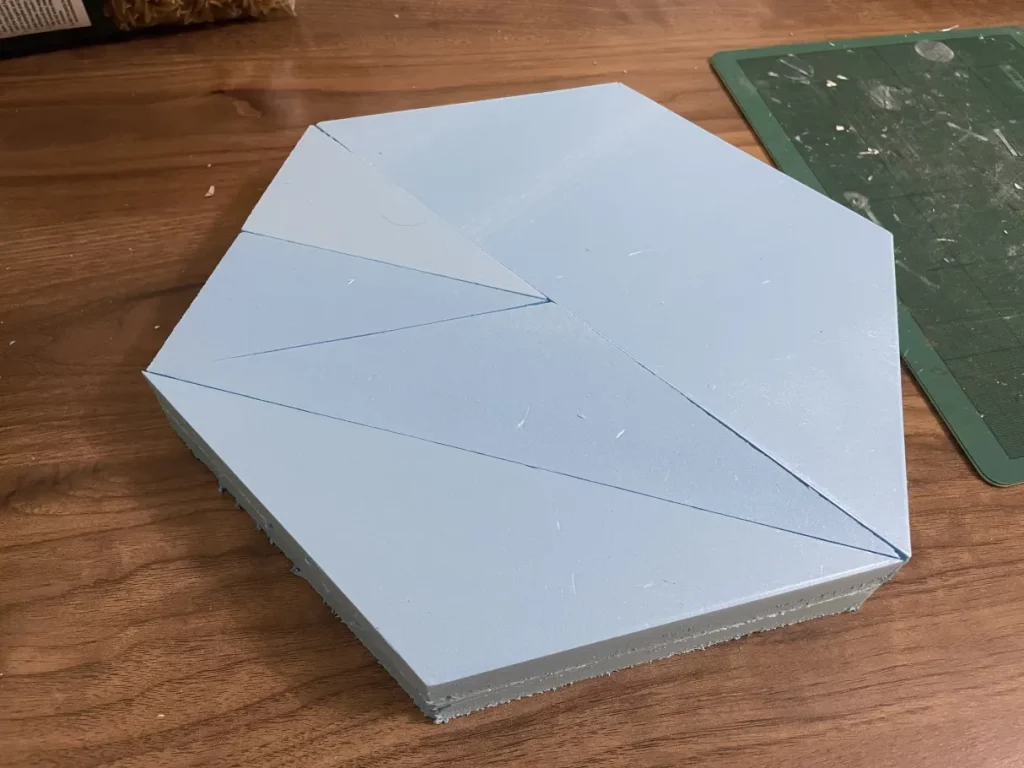
By the way – these sheets are 20mm thick and I will be doubling them up for finished tiles 40mm thick at the edges (though what happens between the edges is anyones guess at this point – I have a vague plan that the terrain will undulate up and down but not yet a clear idea how.
That about does it for part 1 of this project. Next up, landscaping features into the tiles.