In January I vowed to finish Father Cain & Constance Palamedes. Towards the end of the month I also decided to speed paint a super heavy tank (I’m titling it a Stormlord but it can be assembled as one of about 8 variants). In particular I tried to fit it into January by speed painting it in one day.
Although the tank ended up being painted over the course of 3 days (causing me to miss January’s challenge), the actual labour involved easily amounts to less than a day (and by a day, I mean a few hours, i.e. what I can usually dedicate to a good “painting session”, not an entire 24 hours!), which is good going for anyone looking to speed paint tanks.
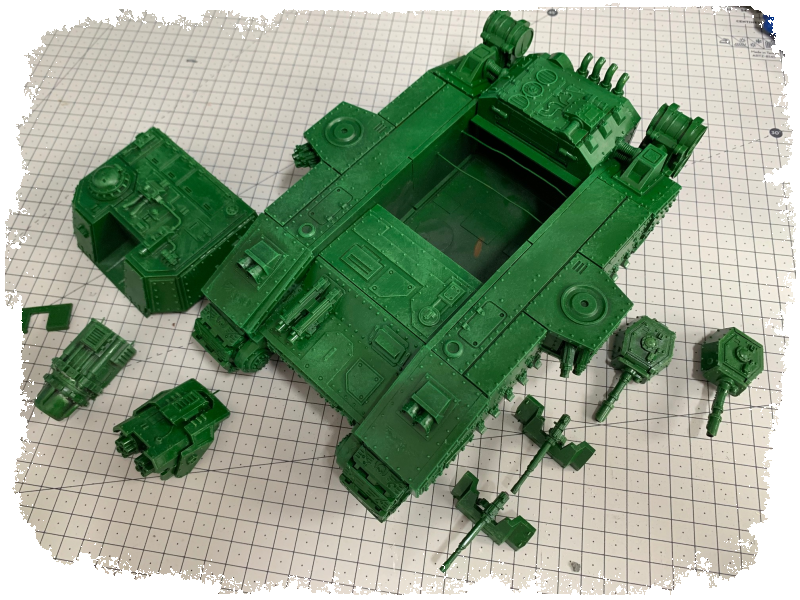
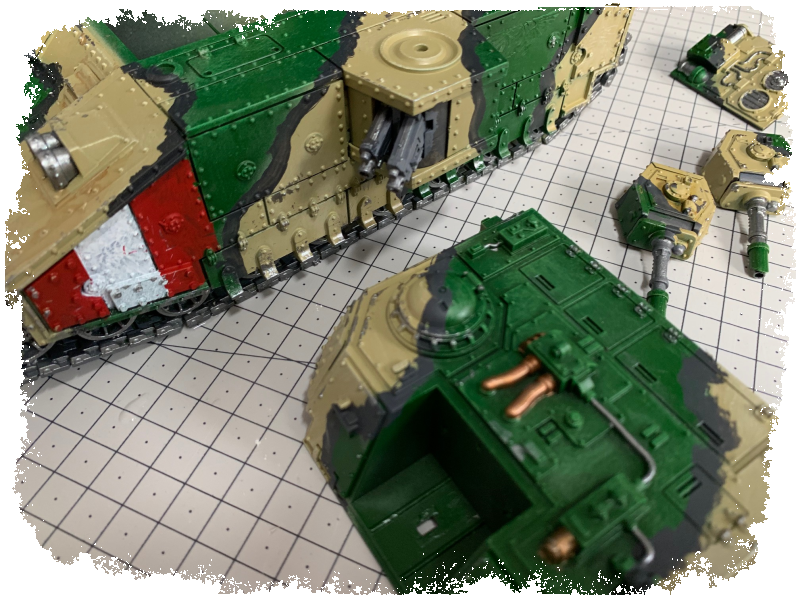
This is what I started with:
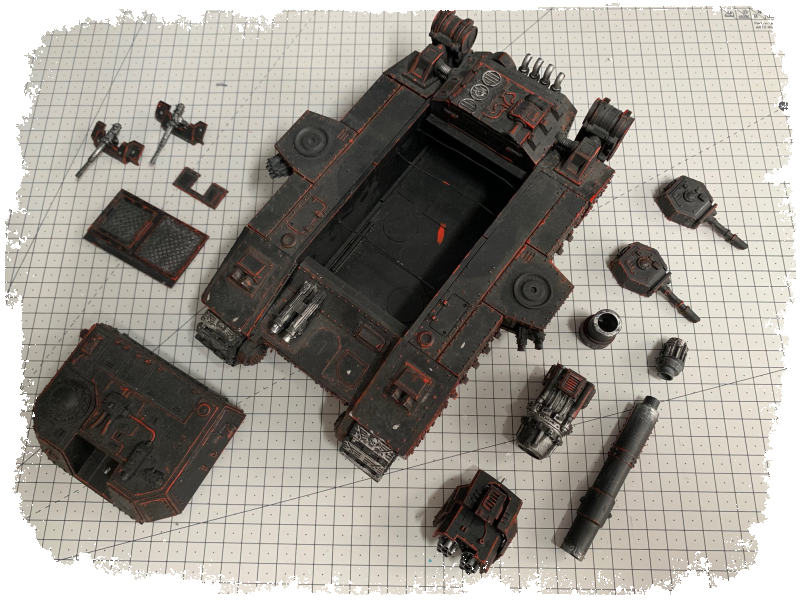
It’s impressively modular, using a system of wires to rest the various upper hull parts on which I haven’t seen before. All parts not in use fit inside the belly of the tank, which is great. The assembly quality is pretty decent – it’s solid, and doesn’t have too many mould lines and so on. It also appears to have been primed black which is fine by me.
Step 1 – Cleaning Up
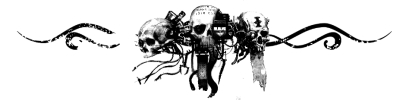
I first removed any remaining obvious mould lines and injection stubs, drilled a couple of barrels and then did some gap filling on the long barrel of the main gun. For this, I strongly recommend some fast drying plastic putty that can be sanded. Just ooze a line of it along any joins then use a soft sponge sanding block with a fine grain to smooth it out once dry. In the photo below, the left end of the barrel hasn’t been sanded yet and the right end has.
You can see how easily any flaws in the barrel and the join itself have been filled, and pertinently for this project it’s a very quick process.
Step 2 – Green
For any model of this size rattle can spray paints are the key for speed painting. I applied a mid green Tamiya spray over the-entire model, applying 2-3 reasonably thin coats. Once this was dry, I dry brushed the entire model in a light, slightly yellowy green mixed up from citadel paints
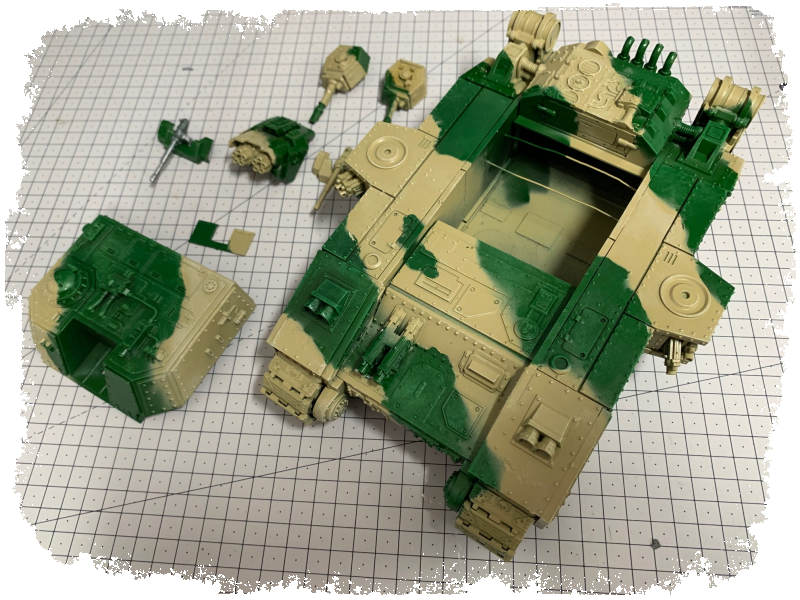
Step 3 – Beige Camo
I quickly masked the model using tissue, masking tape and white tack. The tissue and masking tape were used for the bigger areas of masking with the white tack used to refine the shapes a bit and add a couple of smaller splotches. I’m not overly concerned about getting the shapes perfect as later I’ll hand paint a dark grey line between the green and beige giving me an opportunity to smooth out any dodgy masking.
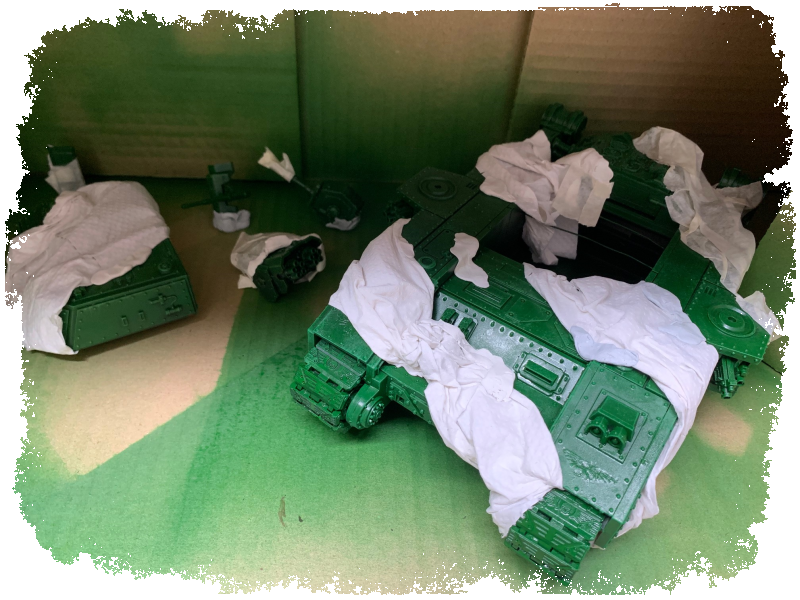
Again the beige was applied in 2-3 applications, and once dry I dry-brushed the beige areas with a light bone colour.
The model is now ready for some details to be painted on. So far, it’s probably taken about 2 hours of actual work.
Step 4 – Details
This is the most time consuming step, as all the colours and details you want applied before shading and weathering must be added. Fortunately I’ll be using a very aggressive shading technique later, and one of the benefits of this is that you don’t need to be very accurate at all with your detail painting.
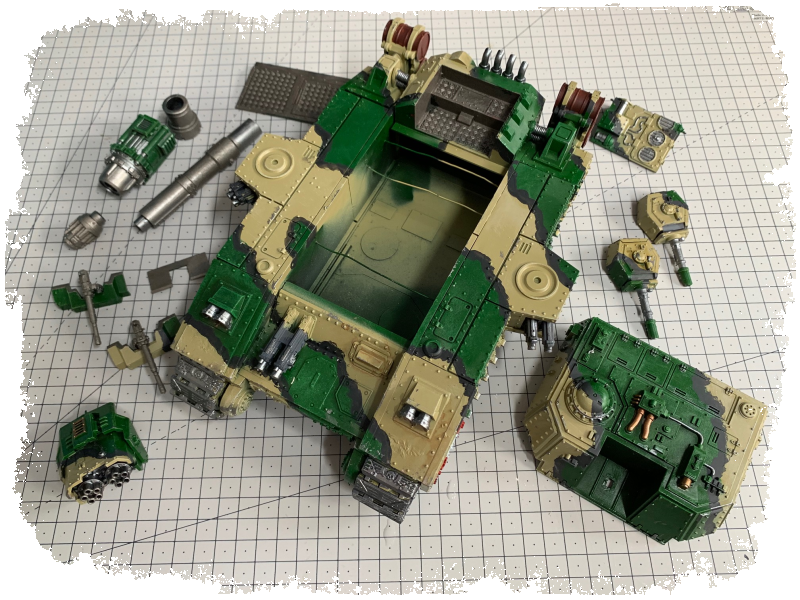
In this step I painted all the metal areas and guns in dark grey and did the dark line between the green and beige at the same time. The oil drums were painted dark red and all the metal was painted in. While I have the metal colour out, I also use the side of a big brush to dab and swipe some rough chipping along prominent edges. In no way is this very advanced weathering but it works well for a speed painted tabletop quality model.
You can see that some coloured stripes at the front of the tank help to break up the colour monotony. Red and white, while open, are also used to paint the lights and purity seals of the model. All told we’re probably now at 4 hours of painting.
Step 5 – “Gunge” (Shading/Weathering)
This is the real secret to speed painting tanks, in my opinion. It’ll also seem like a horribly counter-intuitive thing to do to your models at first!
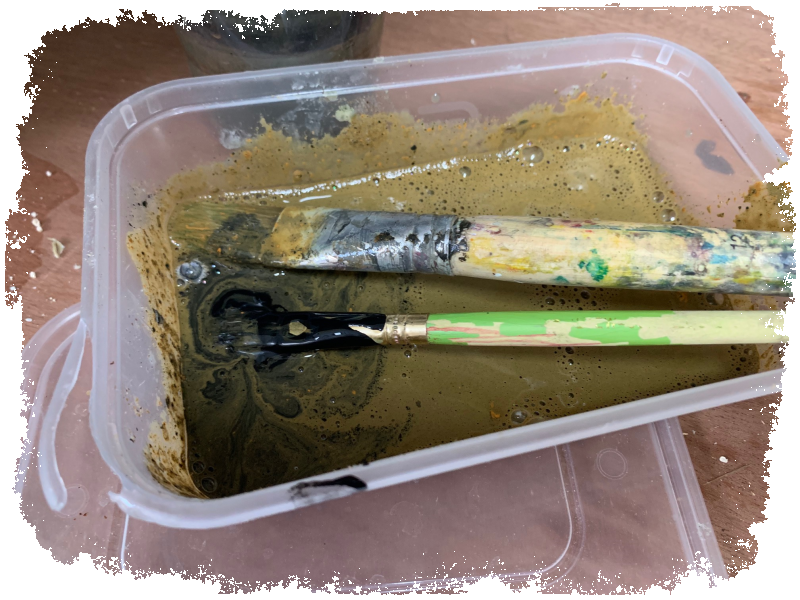
I mix up some “gunge”. This is a mixture of PVA glue, brown and black paint, watered down to a thick paint consistency. I can’t give a precise ratio as I’ve never bothered to calculate one, but it needs to be runny enough that you can basically plaster the entire model in it very quickly, but sludgy and sticky enough not to pool up or run off the model.
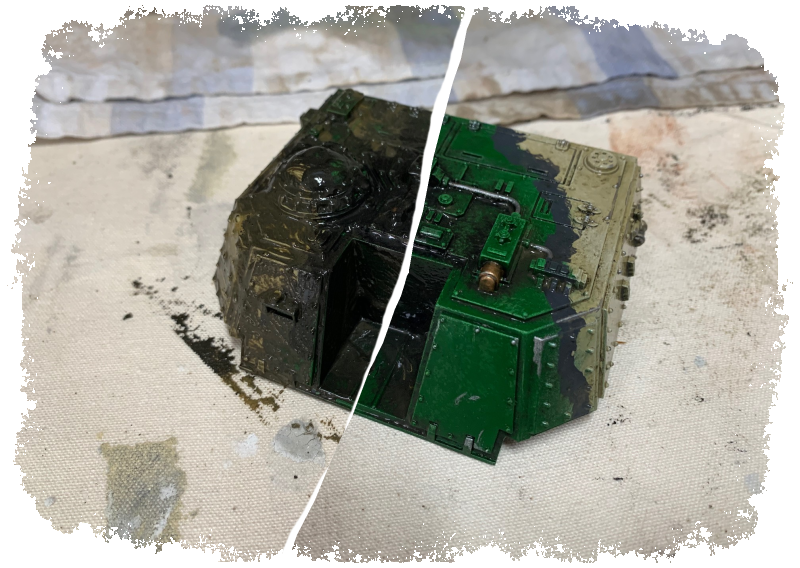
Then, as mentioned, you plaster the entire model (or subsections of it) in the gunge. The PVA here aid adhesion and retards drying time. Once you’ve covered the model or section, take a damp cloth and dab and wipe the gunge off, leaving it predominantly in the recesses. This functions just like a wash, except it works on large flat surfaces (whereas a wash would puddle up). It also looks more grimy than a wash, so it serves double duty as both shading and weathering. The below photo shows the upper hull section with gunge applied and then removed.
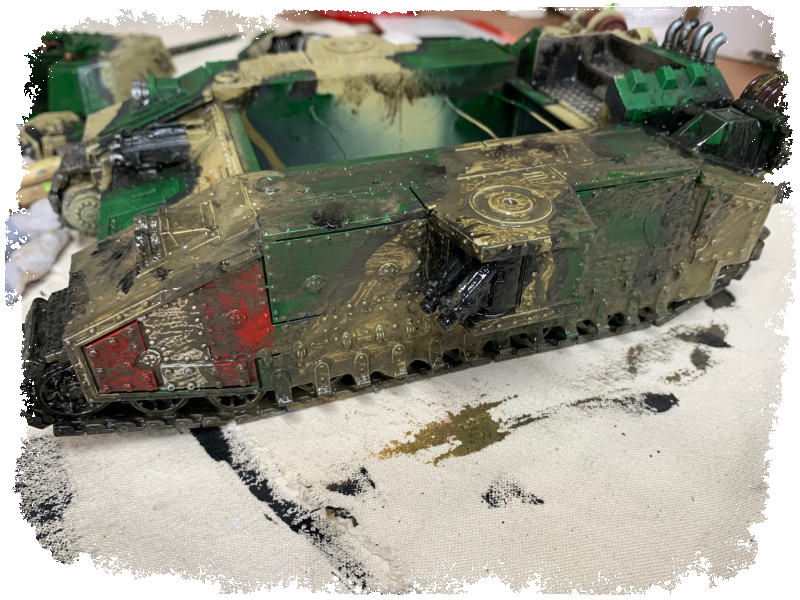
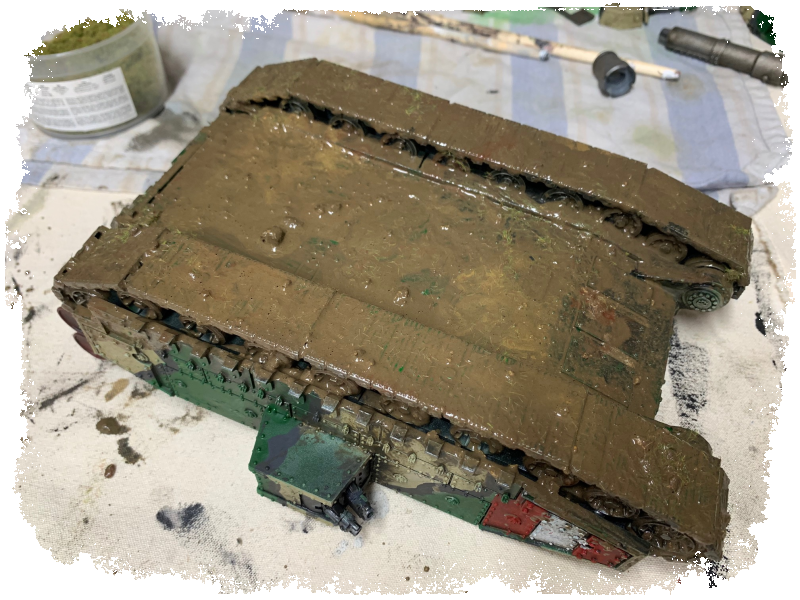
Below is one of the track units with gunge applied. You can see why it’s a brave move to make, but don’t worry – you have a good amount of working time before this gets anywhere near to drying so take your time with the cloth and remove the mix bit by bit until you have an effect you like.
It’s worth remembering that the mixture will darken as it dries, as the PVA loses its white colour. Once I’m done with the shading and weathering on the hull, I add lighter pigments, ground up plaster dust and some static grass to the gunge to make a thicker, muddier and textured mixture. This gets applied thickly to the underside of the tank and its tracks, like so:
I stippled some of this mixture up the sides of the tank as well, to represent mud splatter. Overall, the whole process of shading and weathering took about an hour of actual work (plus drying time), meaning the whole tank is finished in about 5 hours – not bad!
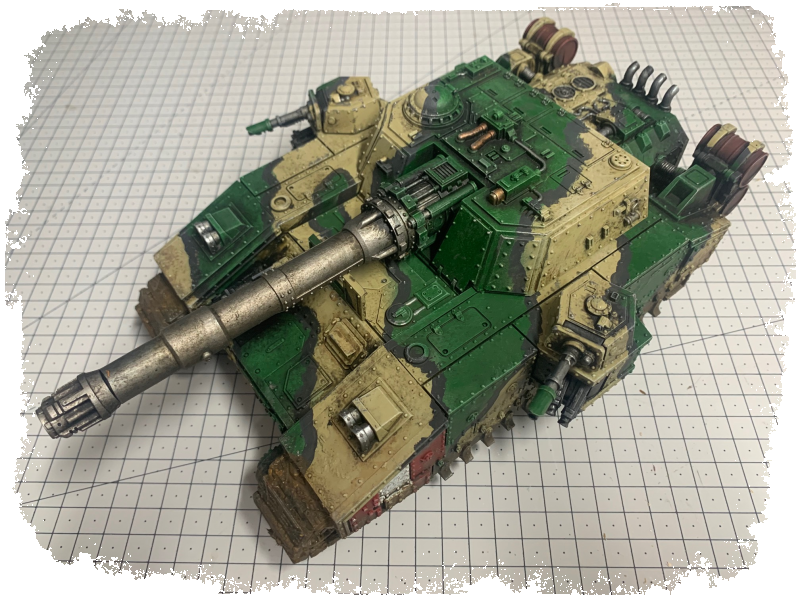
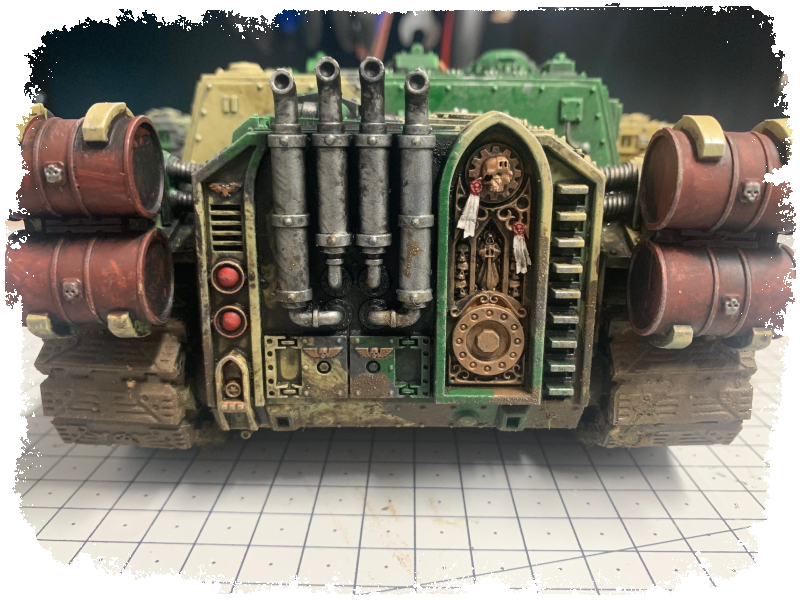
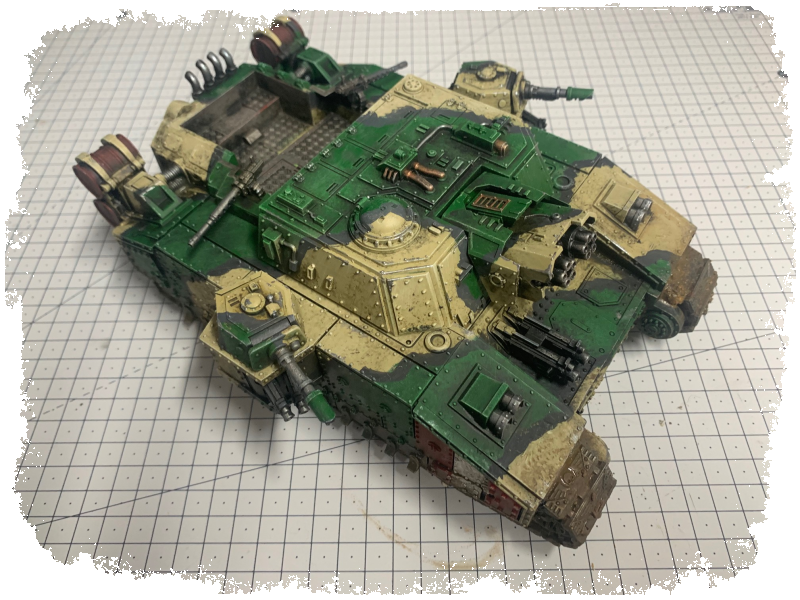
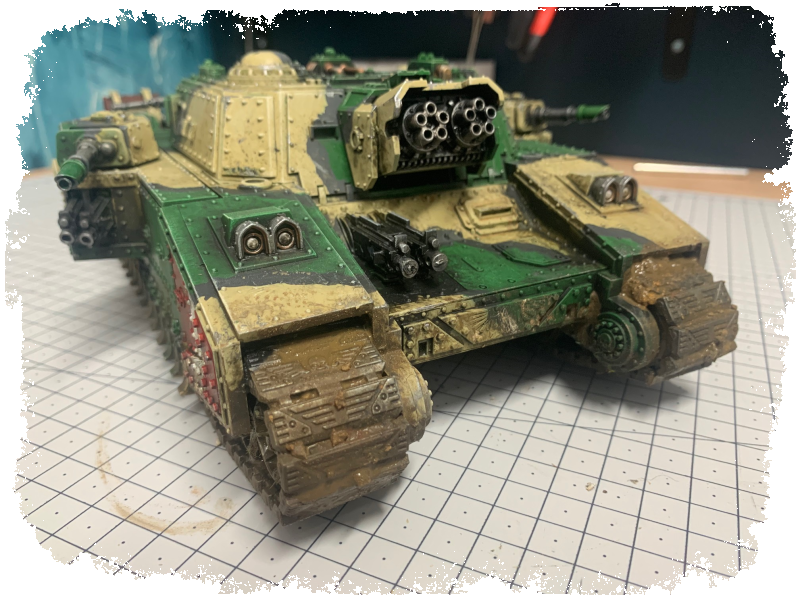
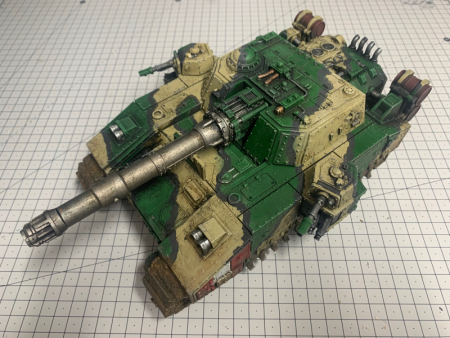
Finished Photos
The final touch is a quick light dry-brush over the whole model with bone to pick out prominent edges and rivits. With that I’m done, and I think you can see how the gunge application really turns a fairly dull looking model into one with a bit of character and depth, even if it’s never going to win any painting awards.