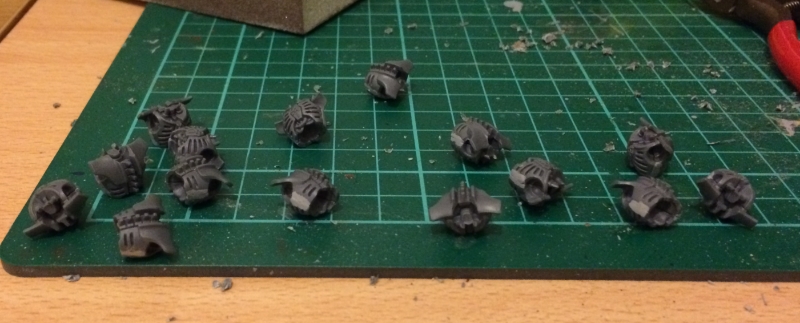
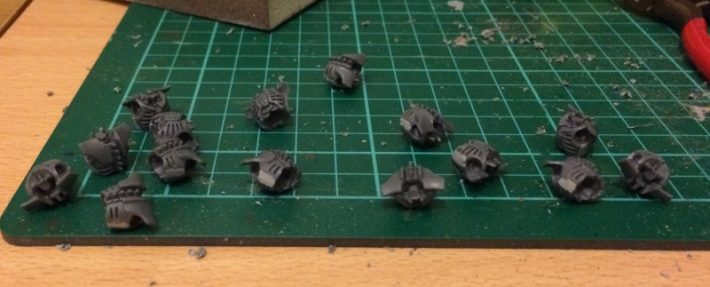
My first rule for army painting is cleaning the models up properly. It is often laborious so anything you can do to lighten the load is recommended. I do it in front of a good film or TV show.
There are three things you need to clean up by cutting, scraping and sanding. I use a stanley knife, a very sharp scalpel and a fine grade sanding block, in that order.
- The remains of the injection stubs where the plastic/metal entered the mould during casting
- Mould lines running around the entire part where the two halves of the mould meet
- Glue lines where you applied polycement and forced two parts together in order to achieve a seamless finish
If you don’t clean these things up they will ruin the finished paint job. Most painting guides tell you to do this and still most people seem to ignore it, perhaps too keen to get on to the painting stage.
Fortunately with most modern 40k plastic kits mould lines are hardly much of an issue (they are so well cast they simply don’t exist) and if my recent experience with Crimson Hunters is anything to go by neither are glue lines (because GW is getting pretty smart at hiding the bits you need to join with glue).
Applying this to the Necrons
I found the Necron kits to be quite variable in how cleverly and well they were cast. Most parts (even the very small ones) had multiple large injection ports, often located in an awkward place. For example, the heads have two ports flowing into the underside of the Necron “cheek” lines. This was really awkward to remove from the sprue and left damaged plastic on some heads. In retrospect I would have needed some incredibly fine and sharp needle nose snippers to properly take the parts from the sprue, and I will be investing in these in the future.
The mould lines were the bits that varied a lot. In some cases they were obvious, in others hardly there at all. All are in very prominent positions (leg and arm armour) so need to be paid attention to.
The Warrior kit is not too bad for glue lines, the main part where this is an issue being where the two halves of the body join. I was mass assembling them, and using polycement to melt the two halves together leaving a seamless finish is more hassle when you have lots to do, so I tried something different and simply stuck the bodies together with superglue then painted a band of Mr Surfacer down the join before sanding down once it dried. This worked a real treat. You can see some of the Mr Surfacer “stripes” in this photo:

The Immortal kit also needs attention paid on the shoulder pads, which are in two parts and leave an obvious gap if not fused properly. Here I used polycement (there are only 5 of them).
The worst part of the kit for gluing is the two halves of the Warrior’s gun – in many cases it acually didn’t fit together, and left a large gap. I used Mr Surfacer liberally to fill it.
All in all I sat in front of the TV on Wednesday evening and removed and cleaned up all the parts for the Warriors and Immortals that come in the battleforce (20 warriors, 5 immortals) in about 4 hours. There are a lot of fiddley bits so it’s not a kit for the impatient. To be honest, it was incredibly boring, but felt good to get them all off and ready for step 2.
