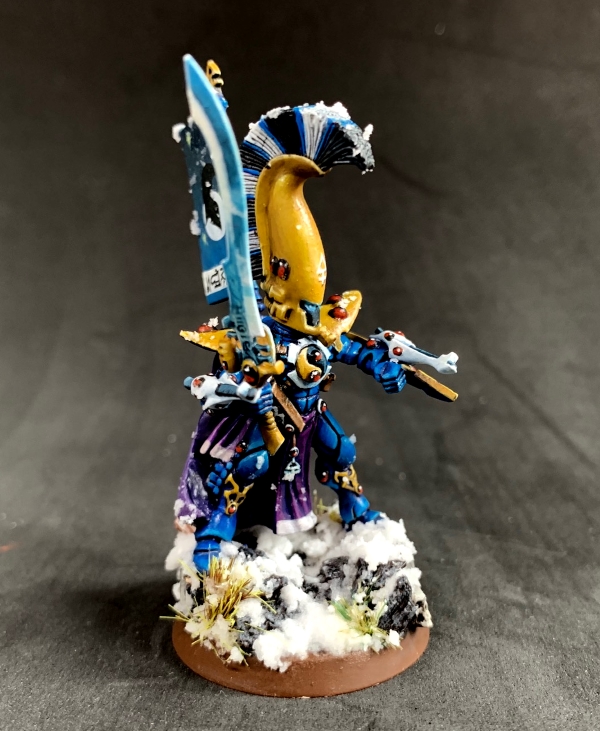
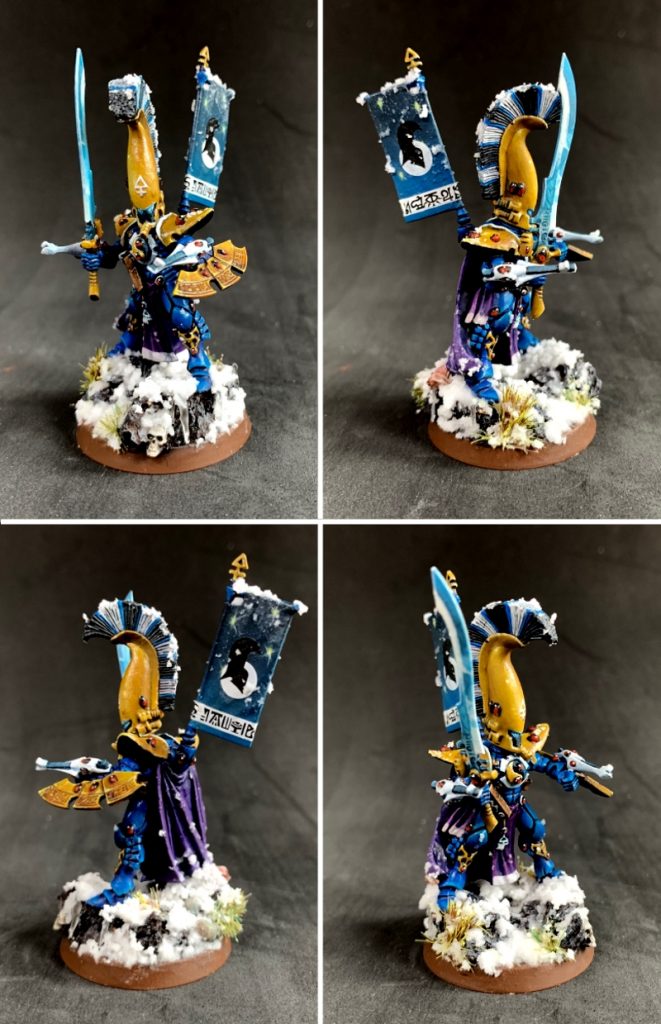
My Asurmen conversion is heavily influenced by (and indeed in some senses copied from) this one by Andy Hicks. The overall aim is to modernise the model, break it out of the old school 2D plane that early 90’s single part models have, make it a bit more imposing and also slightly more elegant with longer legs and arms. My finished Asurmen conversion looks like this:
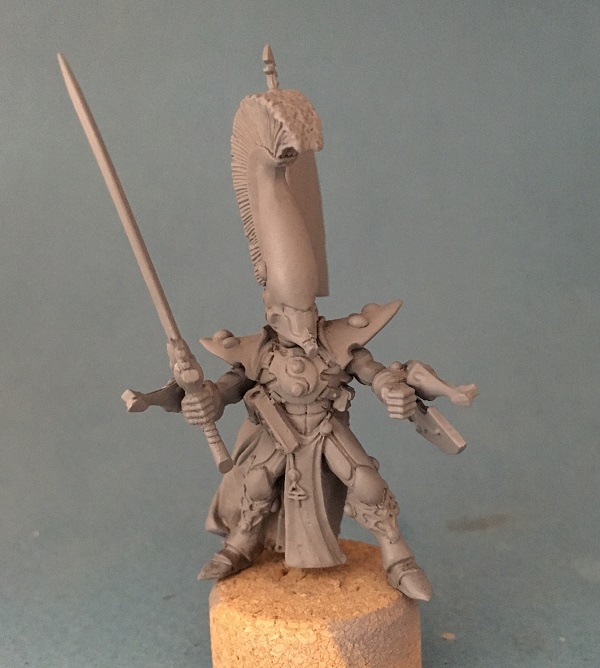
Head
The head was cut off, ruining Asurmen’s face plate in the process – okay by me as I wanted to replace it with a more standard Eldar face plate anyway. Just like the inspirational conversion by Andy Hicks, I joined a normal Dire Avenger helmet to the top of Asurmen’s helmet, and blended them together with putty. Gems were added – these are simply rolled up balls of putty, left to dry and cut in half, glued in place. I used them extensively on the model.
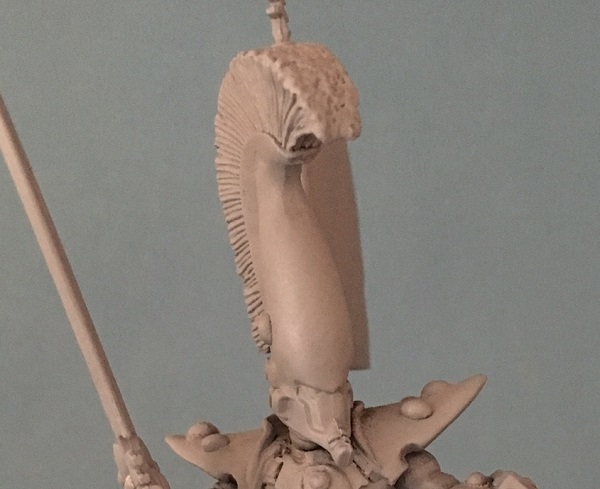
Shoulder Pads
The stock model has sort of Geiger-esque detailing that is not very current for Eldar. Also some of the detail was ruined during the course of cutting the head off. So I smoothed out the shoulder pads and added gems and a lip.
Left Arm
I removed the arm, which is a little short and has an old style shuriken pistol with an ammo feed and power hose that while quite cool are not very consistent with modern Eldar design. I converted a new arm for Asurmen using a Dire Avenger arm, Harlequin shuriken pistol and a shield from the Wraithblade kit. Some putty was used to sculpt a bigger vambrace and blend the parts together.
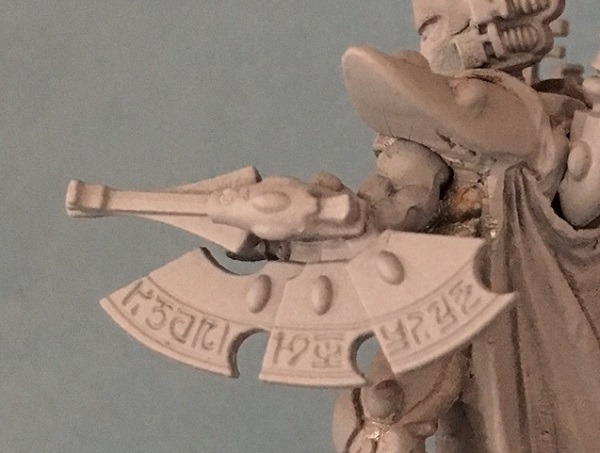
Right Arm
Again I removed the arm, no mean feat on this model. Once the bulk of the arm is cut off with a hacksaw a lot of careful cutting and scraping with a scalpel is needed to get into the recesses. Various details were damaged in this process (e.g. the pistol holster and cloth hanging from his belt), which were then repaired with putty. As before I converted a new arm for Asurmen from a Dire Avenger arm with a Harlequin shuriken pistol and sculpted vambrace.
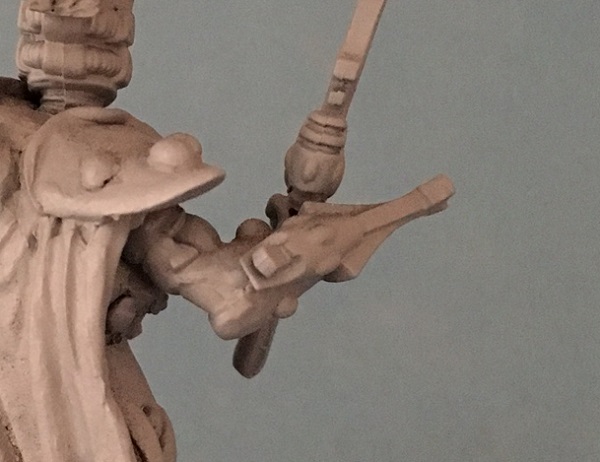
The sword is from the Wraithblade kit. The sword itself is converted by cutting down slightly at the tip to reduce the length, then pinned to a suitable hand (I think it’s from the Empire Flagellants) which is magnetised to connect at the wrist to aid storage, prevent breakages and provide some limited posing options.
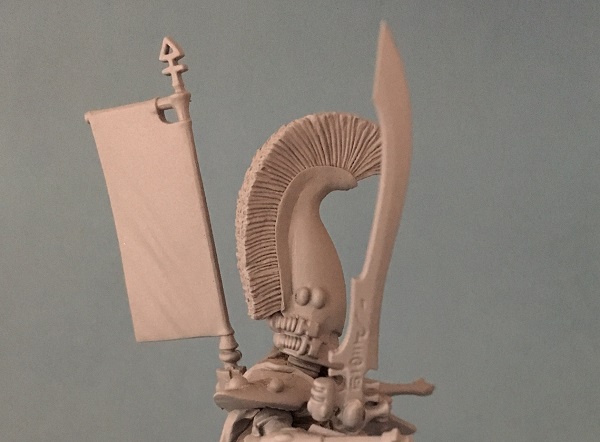
Back Banner
The Dire Avenger back banner is magnetised to aid storage. Eventually I may convert Asurmen a more impressive banner but this one will suffice for now.
Feet
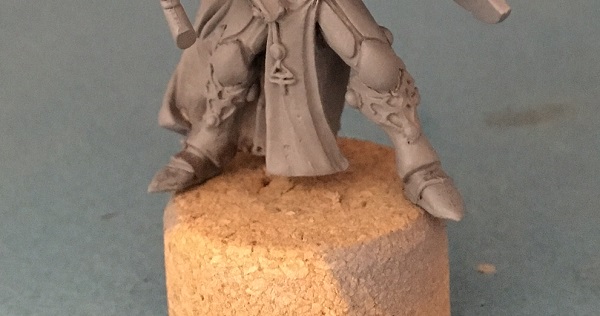
To convert the feet and lower legs both of Asurmen’s feet were removed along with the base tab. I pinned Guardian feet in place, adding 2-3 mm height in the process to lengthen the legs. I then resculpted the greaves and foot armour plating, and repaired the base of the robe, adding a flick of material curving around the leg.
Painted
After a few years of sitting on the “to do” list, he received a lick of paint and an icy base.
