On the second day I built the back wall of the man cave.
Much like the floor, building a stud wall with no door or window is really rather simple. It’s a frame of timber joined with butt joints, vertical studs spaced at suitable intervals and optional horizontals called noggins between the studs. The only marginally complicated part of this is to work out in advance how you’re going to join the wall to the adjacent walls and make allowance for this. Countless guides and videos cover stud wall construction so I won’t go into detail here.
I will talk about wall thickness, though. As the walls sit on top of the floor, the thickness of the wall eats into the internal space. On top of the stud thickness you also have to think about what you’re going to line the walls with internally. Because I wanted to maximise space as much as possible I went with quite thin timber for the studs – 38mm x 63mm. This made the walls quite light weight and svelte, but comes at the cost of thinner insulation later on.
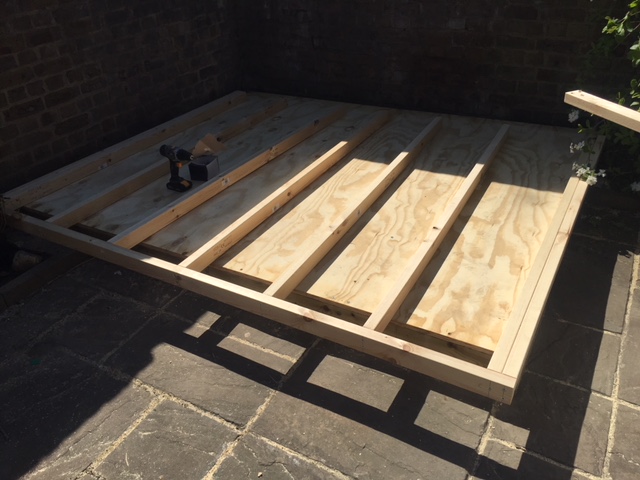
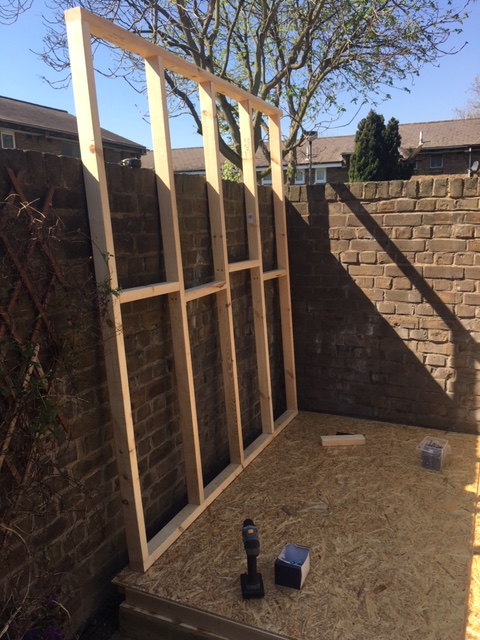
I used the floor of the shed as a platform to build the walls, since it was the only flat, reasonably spacious area available. Here the rear wall frame and studs are in place. I used double studs at the ends of the walls so once this wall is butted up against the adjacent walls there is still some timber in the corner for the internal wall lining to screw to.
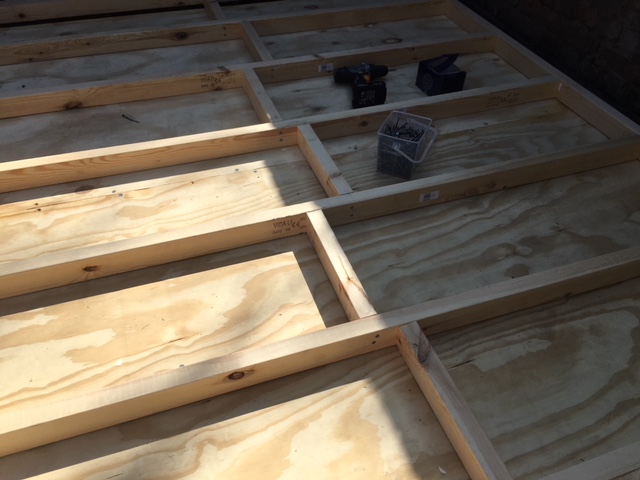
Adding noggins. Studs and frame were screwed together, noggins were nailed in – nails are stronger at resisting lateral strain:
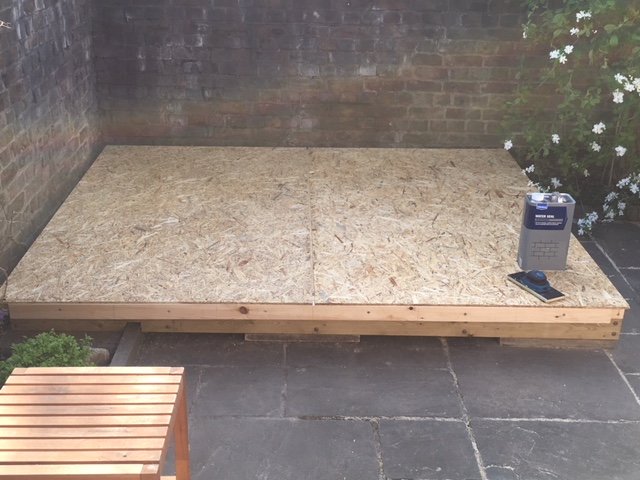
Below I’ve screwed the external skin of OSB3 to the back wall and am giving it a couple of coats of water resistant coating. I don’t think water will actually get through the cladding and if it does, OSB3 is already somewhat weather proof, but I thought some additional protection wouldn’t hurt. My hope is if water does somehow get behind the cladding, it will run down the wall and drip off, or soak into the cladding, rather than soaking into the OSB.
By the way, OSB is horrible stuff and prone to giving you the nastiest splinters imaginable if you’re not careful. You ideally need very tough work gloves to handle it.
Here’s the studwork for the left side wall, being built on the back wall which is lying on the floor. Once again space is at a premium in the garden forcing me to build the subsections on top of each other. In this photo it’s lacking it’s sloped top which I add later once I’ve worked out how I’m attaching the roof and the exact slope I’ll need and corresponding measurements for the timber.
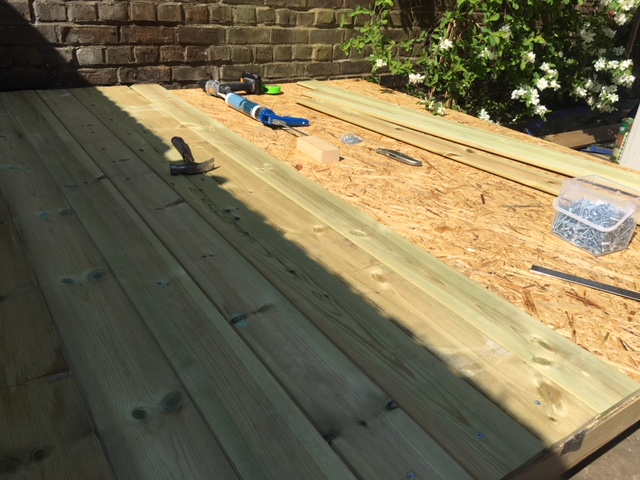
On the third day I started cladding the walls. I had to clad, treat and stain all the walls except the front one before raising them as I wouldn’t have access to two of them once they were raised and the third would be difficult to access due to the big bush in the garden. I worked across the wall, screwing the cladding on to the wall and covering the screw holes with a mixture of filler and sawdust from the cladding itself. This is an old trick I learned that makes the filler all but indistinguishable from the surrounding wood since you’re filling holes with the wood itself.
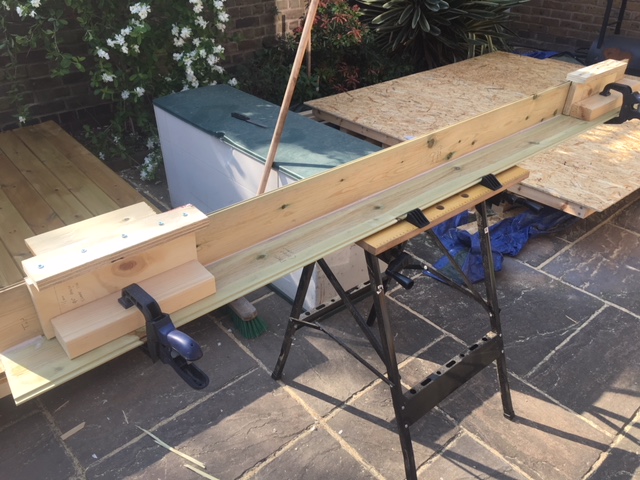
Putting the cladding on at this stage presented a particular challenge at the corners. In my view, the corners were the riskiest area for water to get through the cladding since that is where the edges of the OSB are – and the edges are most prone to swelling and starting to fall apart if they get too wet. So I wanted the corner joins to be very strong and sealed. My solution was to cut and join two panels at a 90 degree angle. I made a couple of clamping jigs to hold the panels together at right angles while they dried. With the corners already joined, ensuring the cladding all connected once the walls were raised became slightly easier.
Once clad, treated and stained the walls could be raised. At this point I needed a bit of help from friends and neighbours – the walls are surprisingly heavy even for a small building like this. Raising them is simply a case of lifting the wall into place, screwing some temporary supports to the wall and the floor to hold it, then screwing the base plate of the wall frame to the floor. The walls sit directly above the floor beams so they are screwed through the plywood floor and into the beams themselves.
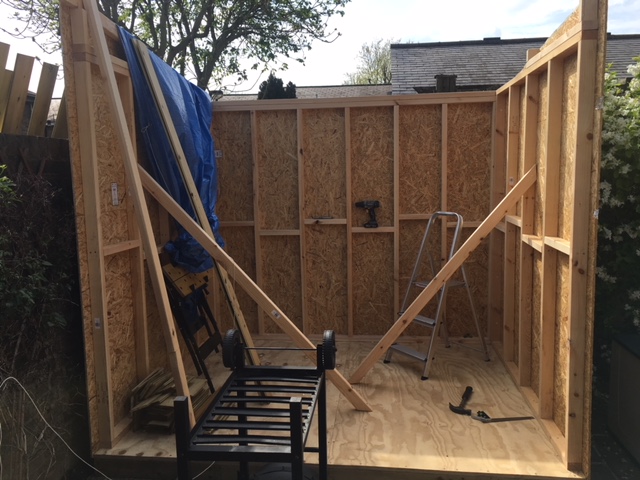
The photo below of the three simple walls raised is clearly not from day 3. It’s one from about day 6 or 7, I reckon. You can see the diagonal supports that help hold the side walls upright until the front wall is on, and that I’ve added the sloped tops to the side walls. Note a design feature of the walls is that the OSB skin completely overlaps the plywood floor so there is none showing, further damp proofing the floor.