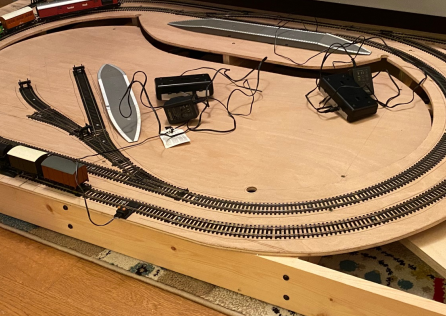
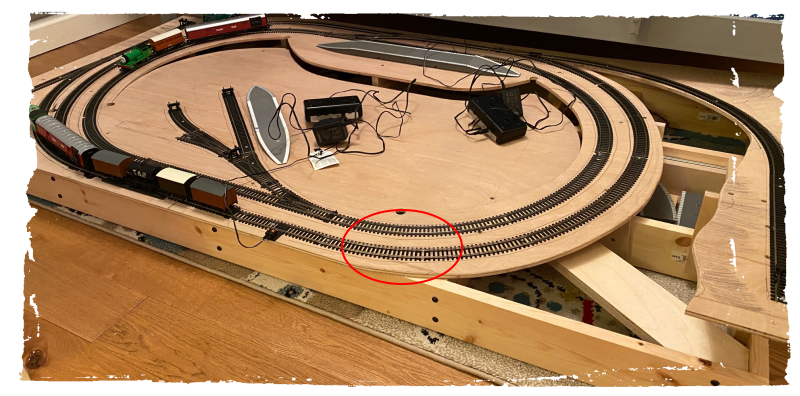
We laid the track out again for testing, as this would be the first opportunity to see how the track and engines performed on the contoured baseboard. I screwed it down temporarily with the smallest screws I had available while waiting for actual “track screws” to arrive in the post. On the whole the test worked fine although it showed up a particular problem area at the bottom of one curve which had a slight adverse camber meaning carriages tended to tip over when taking the curve at high speed. The problem area is circled in red in the photo. I would need to fix this as expecting the boys to regulate their speed felt somewhat unrealistic.
I flipped the board over again and at an angle forcibly pushed up the riser under that section of the board to reverse the camber as much as possible before screwing it in again. While I was at it there were also some other works that needed to be done to refine the structure underneath the board.
Firstly, I’d mounted the wheels so they were only slightly proud of the frame, but this proved problematic when the board was sitting on the boys bedroom rug, so I added some 3mm risers between the castors and frame to raise the whole thing up slightly.
Secondly, I wanted to have a rail bridge on the way up to the highest part of the track and my plan was to simply cut the baseboard close to the track edge. Before doing this I mounted a couple more risers on the underside of each end of the planned bridge location (marked A and B in the photo below) – since the plywood would become quite narrow at the bridge and be the weak point in the whole section of board leading to the clifftop, it made sense to ensure it had a strong anchor point at each end or it might warp or have an excessive gradient. After those risers were mounted I came in with the jigsaw removing the plywood around the planned bridge, as indicated by the green shaded area.
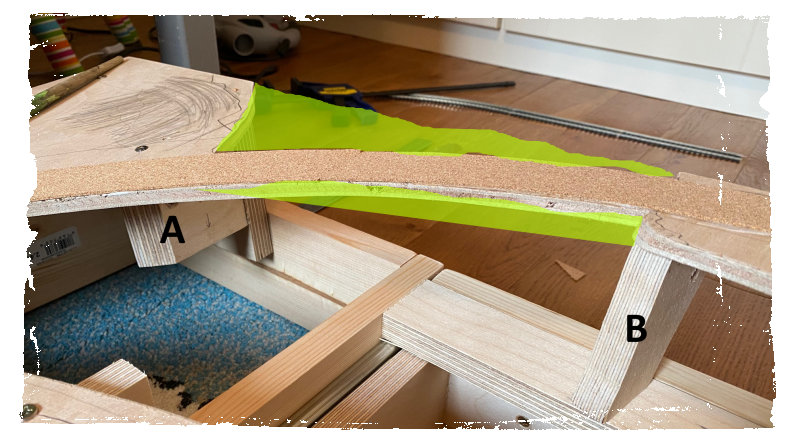
This area of the layout is destined to become an arched brick viaduct crossing a river gorge of sorts, with possibly a single track country lane winding below it too.
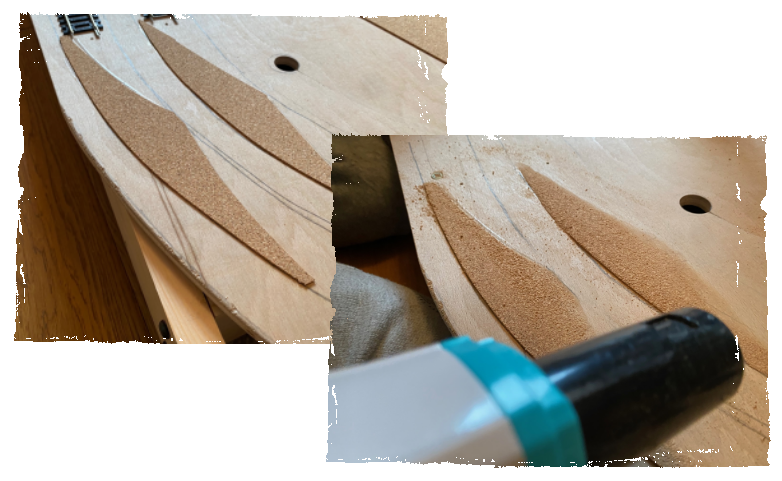
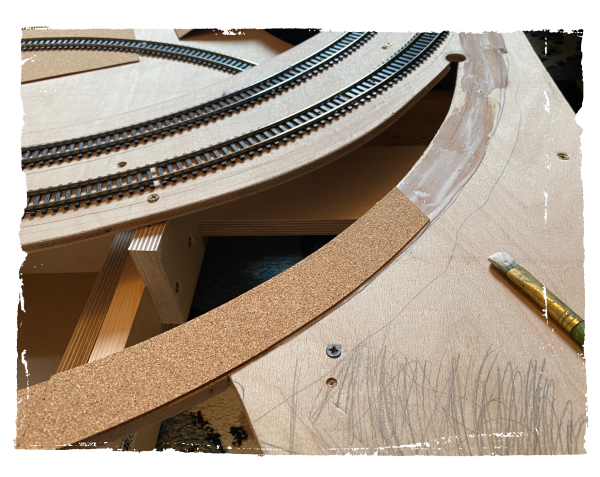
You can also see in that photo that to raise the track and minimise noise we’re laying a layer of cork under the rails. Returning to the issue of the camber, I decided to further reverse it with a double layer of cork. Both boys helped sanding down the first layer so it blended into the surface of the board.
The rest of the cork went down swiftly, using strips cut from 1.5mm A4 cork sheet, and while I was doing that I also started blocking up the various holes and small gaps in the baseboard with tissue and watered down PVA.
From there it was a matter of balasting, using ground up cork leftovers (I had a big jar from a previous terrain project). For maximum effect you’d normally lay the track first, then pour ballast around and between the tracks, and fixing it with alcohol or wet water and glue – but this also fixes the track permanently which I wanted to avoid. So instead we stuck ballast down either side of where the tracks would go then secured the track. This doesn’t look as good but seemed like a reasonable contrast and is difficult to spot at a distance anyway.
That brings us up to this point more or less. As you can see we’d also started painting the base board just to get some colour on it until the proper scenery is laid down.
