It’s now reached that point in a project where I have really run out of energy and I am just looking at the things I don’t like about the pitch. On top of that, Blood Bowl season at my club is coming to an end soon and I’ve been itching to get back into some 40k modelling projects. As such, I’m going to call this project log complete for the time being.
Following on from the last post, the water pouring worked very well. The slight amount of ink I put in the resin was just enough to colour the water which you can see wherever there is a light rocky surface below. I made 3 pours in all to get the required depth. Unfortunately I’ve lost the photos I took during the process due to some overzealous deleting, but will endeavour to describe the challenges I faced.
Things started to go wrong when adding ripples. First off I used the wrong stuff – Liquitex Gloss Medium – which when applied thickly (as I did for some bigger ripples) didn’t dry completely clear, rather a sort of misty off white colour. This necessitated repainting the surface with brown and black ink, then another pour of Realistic Water to try and cover up the mistake. It mostly worked.
I then got hold of the right stuff, Vallejo Water Effects (any dedicated water effect will do). I learnt that realistic ripples could be made with a large brush which I would load with Water Effects and then dab and twist into the surface of the stream. The twisting action, with the right amount of pressure, causes the Water Effects to ooze out into a gentle “C” shape. When oriented correctly I achieve a pretty good facsimile of running water. From my observations, it tends to contain lots of these C shapes with the ends of the C facing upstream. The natural inclination is to make strokes in the direction of the water flow but I haven’t seen this in life.
I painted water effects in streaks on a plastic surface. Once dry, it can be peeled off and applied (with more water effects) to the waterfall. I used several sessions to paint more and more water effects onto the water fall to get a satisfactory gush of water over the rocks. I then did a final pour of Realistic Water from the top of the water fall, but overdid it, and didn’t wait for the Water Effects ripples further downstream to dry. The two materials reacted in some way and I ended up losing most of the definition of the ripples.
Finally I added some foaming water with gloss medium mixed with white paint. I rushed it though, and ended up making the white colour too strong in most places, so its very stark, and will need toning down in the future by blending the edges out with a weaker mix of white and gloss medium.
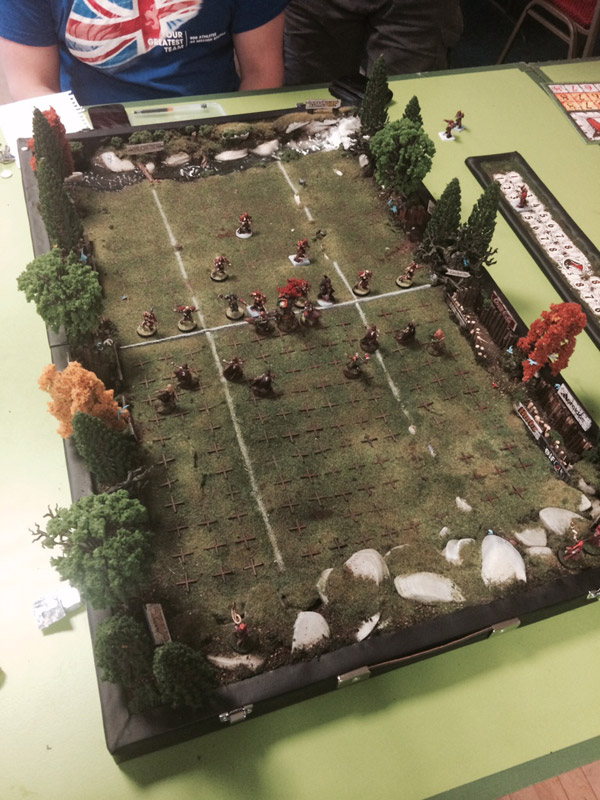
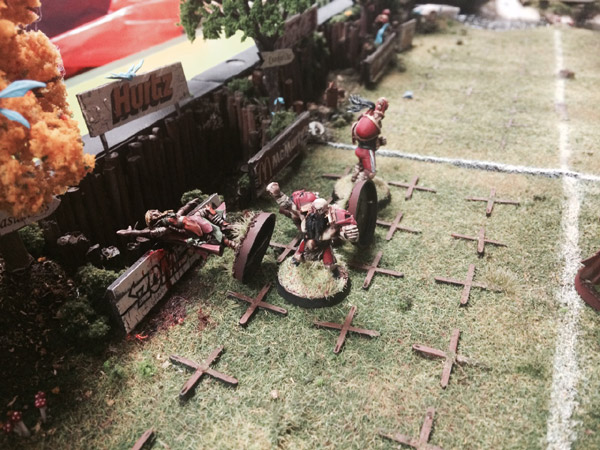
Here are some photos of the completed pitch in use in a game between the Wildwood Wanderers and my friends Norse team, the Asgardian Avengers. I christened the pitch with a 3-2 win, and a great game it was too.
Lining up at the start of the game:
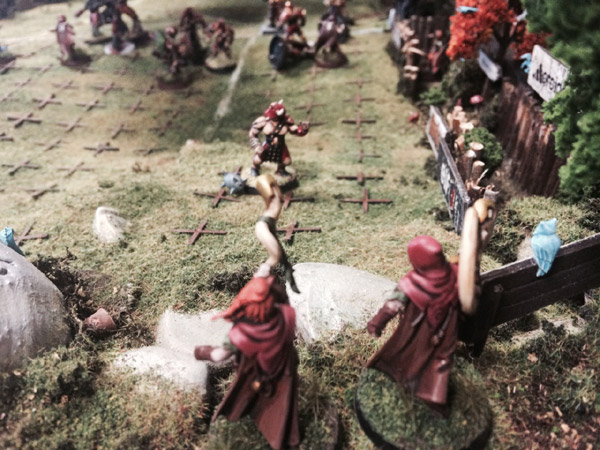
As Elven hornblowers look on, the Norse runner looks on for an early touch down:
Elves get back for a scrambled defence:
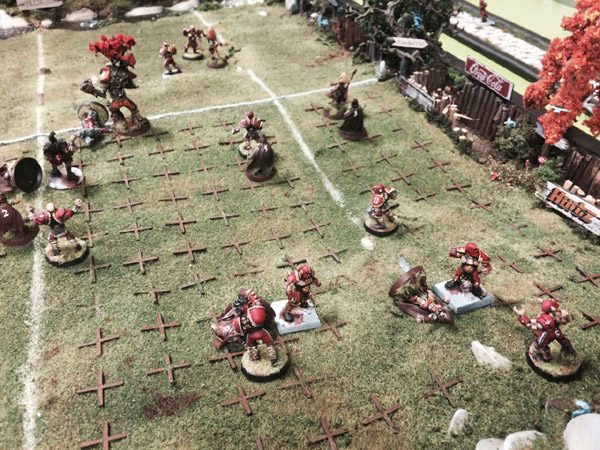
But the Norse break through moments later for the first touch down of the match:

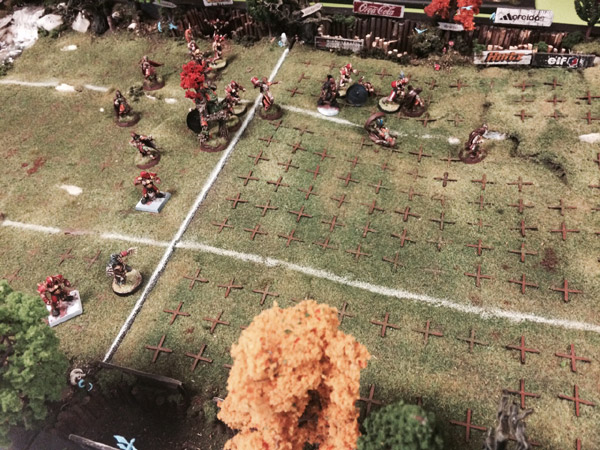
More scrambled defence… it seemed to happen often, usually due to well placed kicks from the Norse and badly timed turnovers from me!
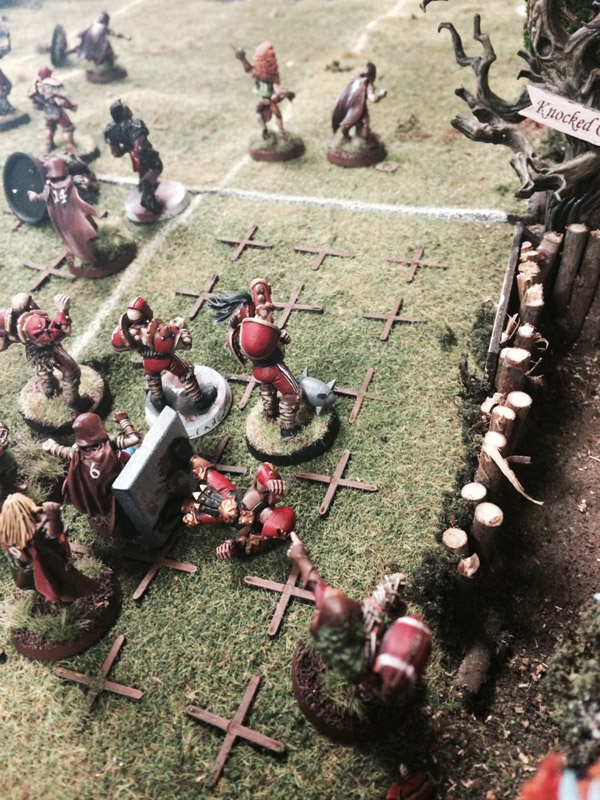
Brutal sideline action!
This throw will put my Wardancer home free, but the cursed runner intercepts it!
When I revisit the pitch in the future, I will need to complete:
- The stream – reworking the water to a better finish
- The scoreboard
- The pitch security team
But this will do for now. I hope you have enjoyed this journey – I have learnt a tonne!