On the Orc team I wanted to try a different way of painting to my usual approach. Usually I start from a dark base colour, with a wash (usually GW’s Devlan Mud – crutch of painters the world over) and layer highlights into each other, some as the previous layer is still wet, sort of a combination of layering and wet blending.
I’ve read a fair bit about painting with glazes which as far as I can tell is how most competition winning models are painted these days and decided to give it a shot. Not that I expect the Orcs to end up competition standard but it’s good to have a bit of another technique in your arsenal I think. Unfortunately glazes the proper way takes AGES to do and I lack the patience required for one model let alone 13, so my attempt is probably more akin to washing layers of colour over a white undercoat than proper glazing, with still a bit of wet blending/layering thrown in as well. But still, the results are certainly different to my normal ones and I am enjoying the change of technique.
The team undercoated and with their first thin layers:
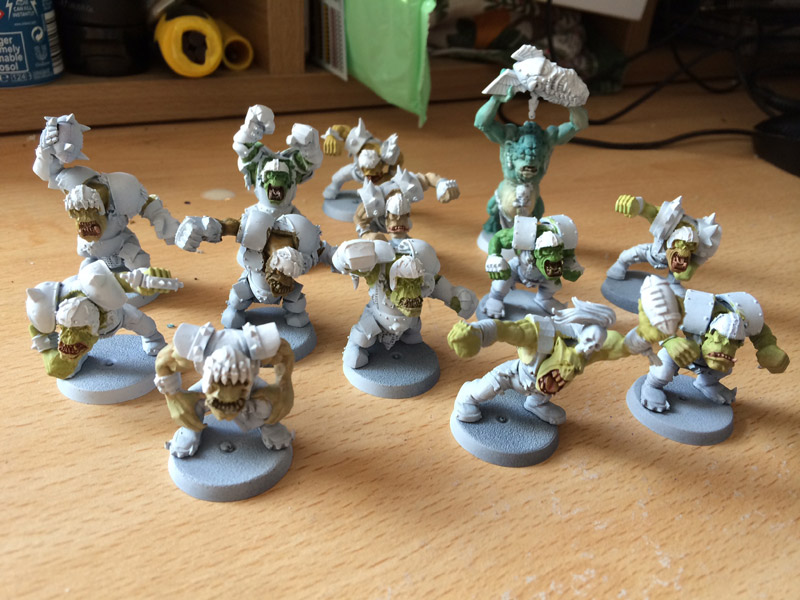
The astute will notice 2 things, firstly I added a troll and another lineman to the team, secondly I varied the skin tone quite massively. Much of this variation will become less apparent as I apply more washes but I like the idea that Orcs don’t have a uniform skin tone.
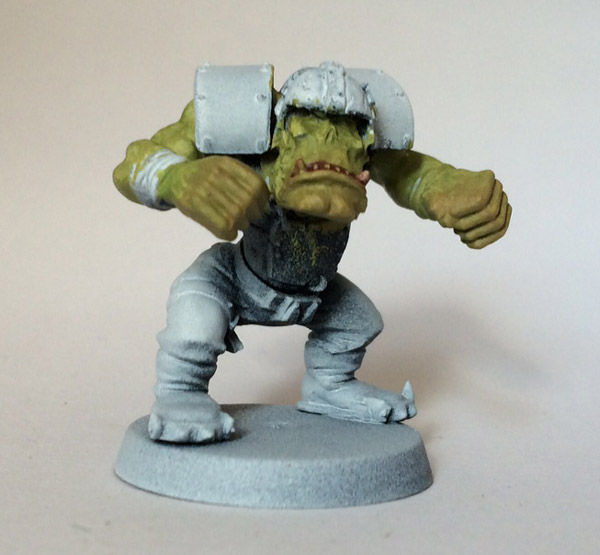
With the glaze method, adding subtle colour variations to the skin is quite straight forward, as on this Orc with slightly redder knuckles and chin:
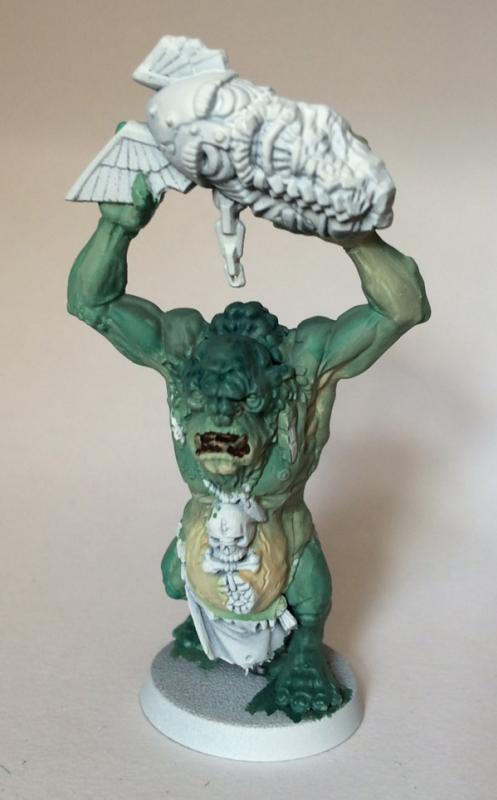
Or this troll with lighter belly and underarms, and darker skin where it gets rougher on the head/shoulders:
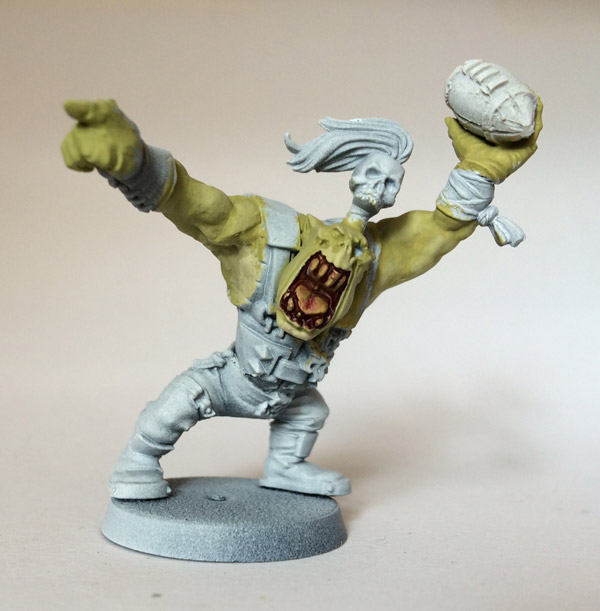
Or this thrower with again lighter underarm skin and chin:
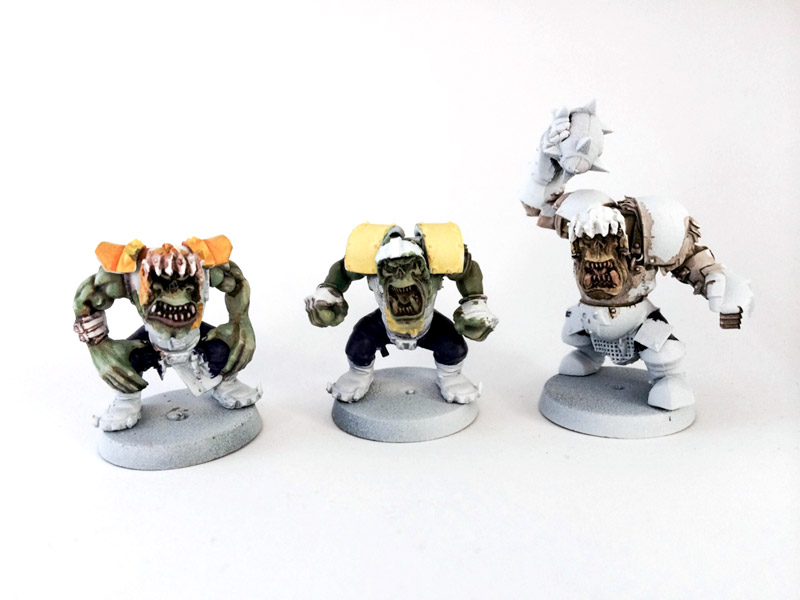
As more glazes are added I introduced ruddy browns and purples into the recesses and the different layers of yellow and greens start to create this sightly irridescent, painterly quality. This is most apparent on the Orc to the left here, who is the most advanced. The Orc in the middle is about half way there and the Black Orc has just had a fairly basic couple of washes and highlights:
Custom washes are created on the fly using any combination of paint that takes my fancy and adding fairy liquid and water. The fairy removes all surface tension from the water making it flow into crevices only and just lightly staining the rest of the surface… I’d heard this was the way to make your own washes but never quite believed it would work, but it does.