Having made a complete building I can now say with some certainty that there is nothing more dull than installing insulation board. It was so boring that completely insulating the man cave took about 3 months of doing small bits at a time, then doing anything else just to avoid insulating.
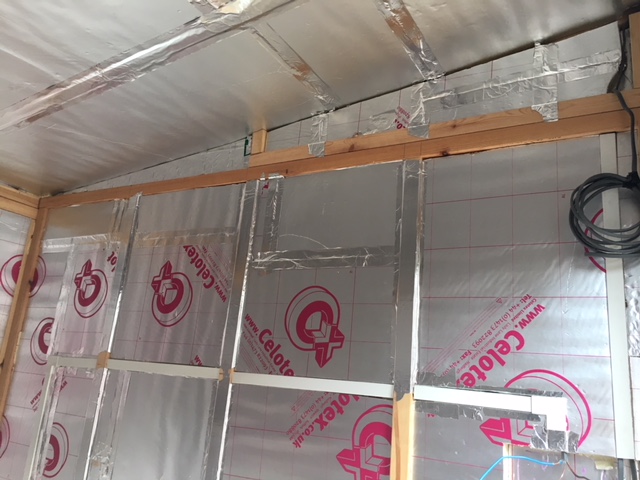
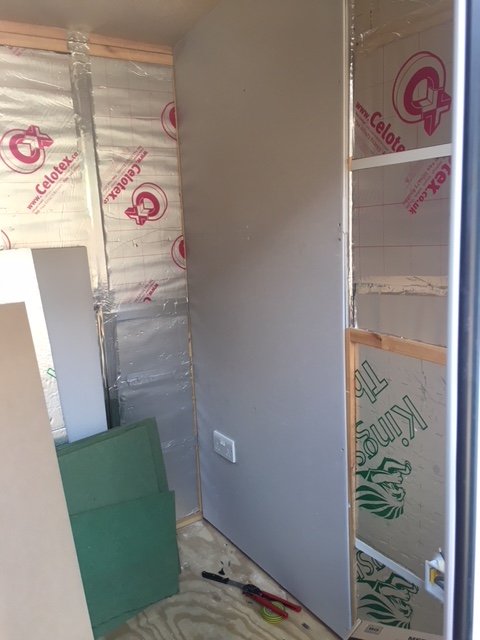
Insulation board is really expensive stuff, but if you scour the likes of Gumtree you can usually find excess board from other peoples building projects being sold off for cheap, or even salvaged board from walls that have been pulled down (typically in a more grotty state). So it was with the man cave – I’d picked up some brand new board for a decent price but could only find 25mm thick boards. With 63mm studs I’d ideally have liked 60mm insulation board – but two layers of 25mm would work. Of course installing two layers literally made the task twice as boring.
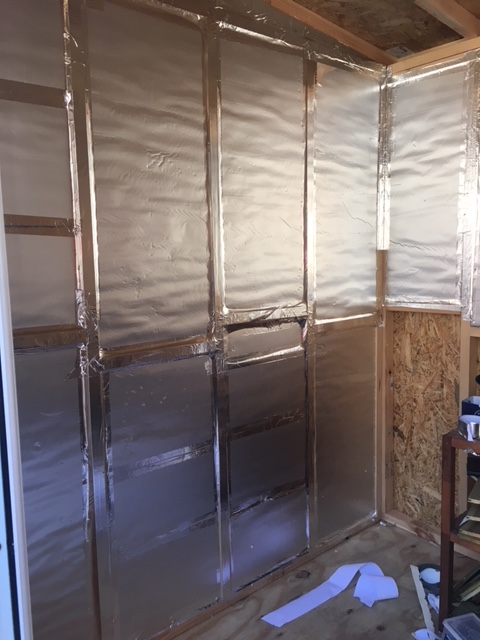
The board can be sliced with a stanley knife then snapped cleanly. You want the fit to be tight and any gaps I had were stuffed with offcuts and slivers of the stuff. The whole thing was taped down with aluminium tape – keeping the board in place and forming a vapour barrier between the insides and the wooden structure (basically this means when I breathe in the shed, I won’t cause the wood to get damp.
Apart from that, what can I write about a process that involves measuring gaps, cutting board and pushing it in to place?
Things definitely got more interesting when it came to the right hand wall. This is where my work area will be and where the power supply will enter the shed from the house. I spent a considerable amount of time learning about circuit design and thinking about my needs before engaging an electrician – partly because I wanted to be sure what I was asking for and partly because if I planned the circuits in advance I could embed them in trunking in the wall, cutting slots in the insulation to recieve the trunking and the boxes for the sockets and light switches.
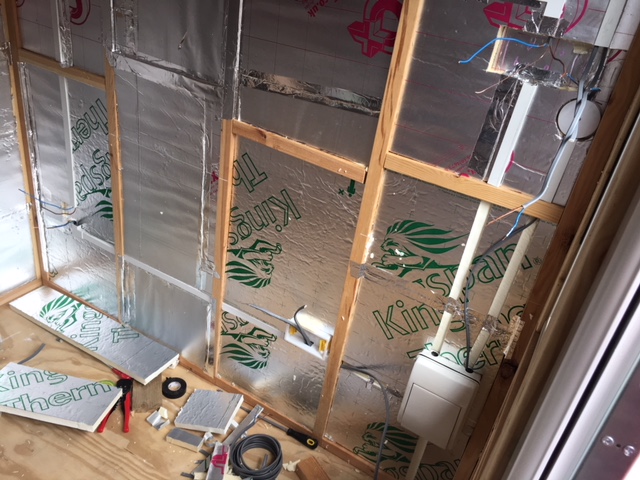
The use of trunking in the wall is not strictly necessary, it’s more often used on the surface of a wall to keep cables hidden away. But I felt it would make the installation of plasterboard later on much easier if the cabling was all tucked away.
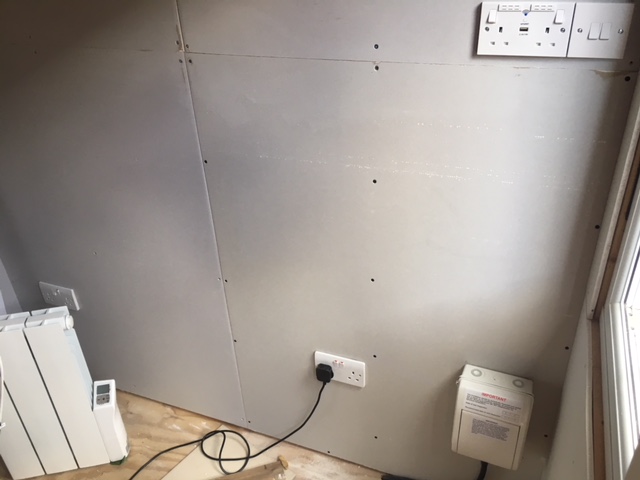
I’m using 9mm plasterboard as the internal wall surface. This is light, very easy to cut and install, and ready to paint. like insulation board, you can cut it neatly by scoring and snapping. Cutting holes for sockets is almost as straight forward – deeply score the outline on both sides, then knock the hole out. Here’s some of the plasterboard going up, with one of the under desk sockets installed.
Soon I had an electrician around who ran an armoured cable along the garden wall and into the house, completed and tested all my circuits in the man cave and wired everything up to the main house consumer unit. I have a small garage consumer unit in the man cave itself, and the armoured cable comes up from below the man cave through the floor and into that. There is then a ring circuit of 3 double sockets, one of which is at shelf height for things like computer monitors and has an integrated USB port and a wifi-booster (which does actually seem to work quite well, pushing the house wifi from 2 bars to 3 bars. The power for the lights branches just before the double light switch, with the left switch controlling the indoor light and the right switch the outdoor soffit lights. Both switches are wired in line.
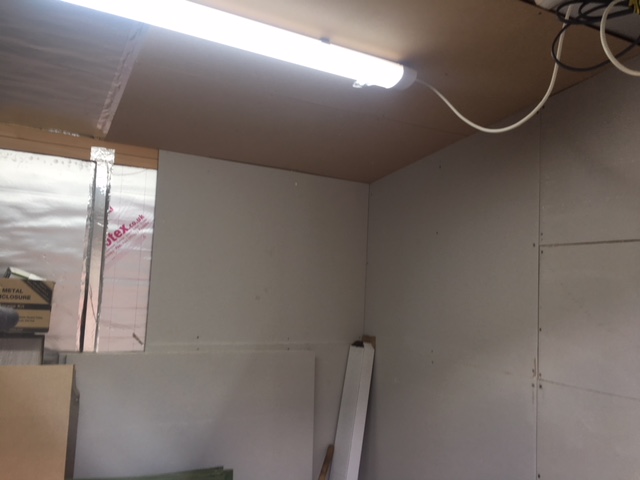
The indoor light is a fantastic LED striplight from Screwfix. Very bright, very white. You’d be forgiven for thinking it’s not day time when you’re in there with it on.