Once the electrics were installed I could see the end in sight and started to work on the man cave more regularly. After the odyssey of insulating the cave, putting the plasterboard up was a nice quick task. I then used some ready mixed plaster and a palette knife to fill the joins between the boards before sanding the joins smooth with a power sander. Wear a mask…
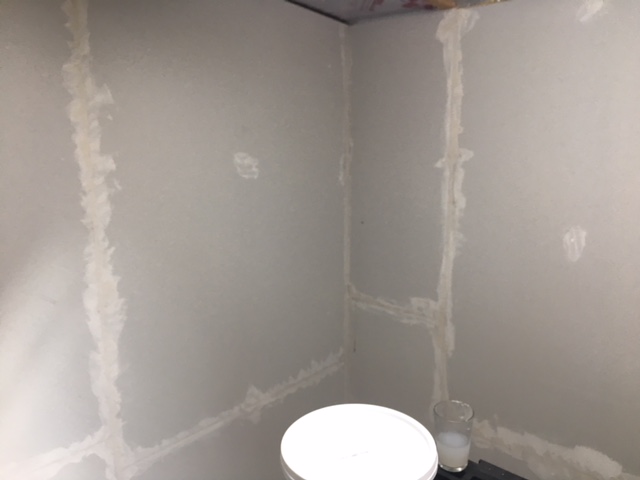
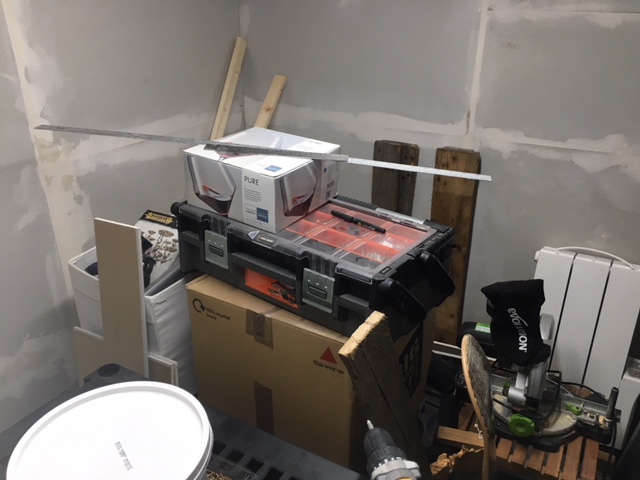
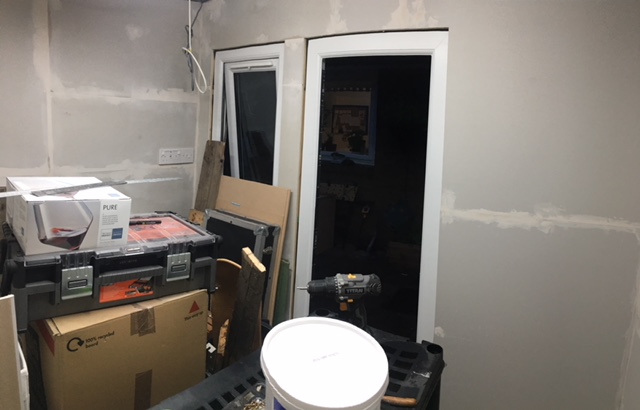
At this stage the biggest impediment to quickly working was the huge amount of stuff still piled in the cave – tools, timber, and boxes and boxes of modelling and gaming stuff. Despite this I was able to work around it and get all the joints finished pretty quickly.
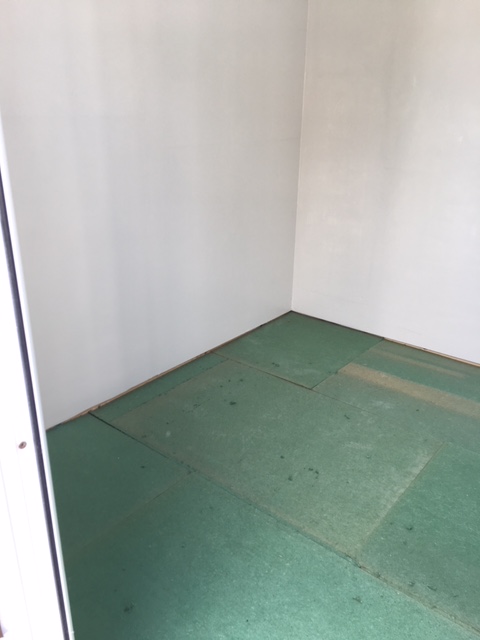
Eventually I moved all the stuff out on a warm day, painted the majority of the walls and laid some flooring underlay that I discovered in the loft. This’ll give the floor a bit more “spring” and dampen the sound when I drop things.

The plan for the desk wall is to paint it a dark colour so it only has the primer on at this stage.
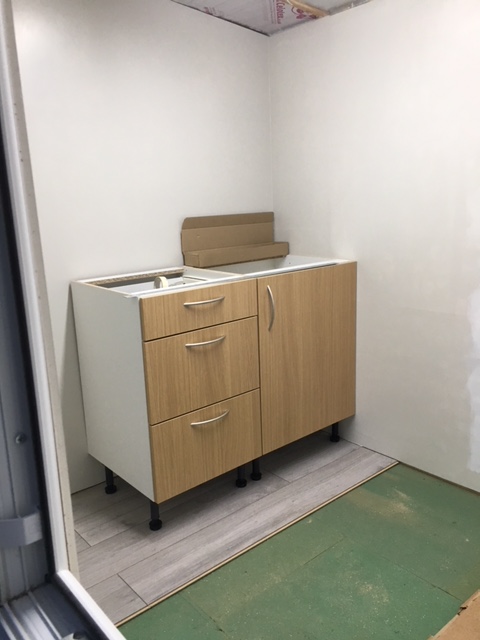
After laying the first few rows of floorboards I started to build storage cabinets on the left hand side of the man cave. Doing this made it possible to move most of the stuff back into the man cave and actually have it packed away instead of in piled up boxes.
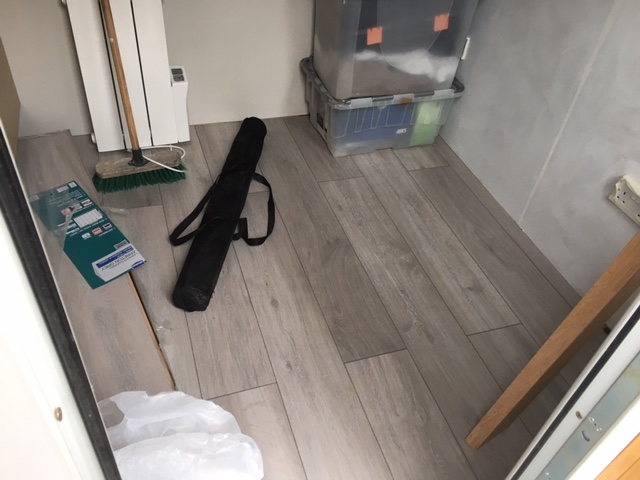
I discovered that tongue and groove floorboards are incredibly easy to lay. I’m a big fan of the grey wood effect of these boards.
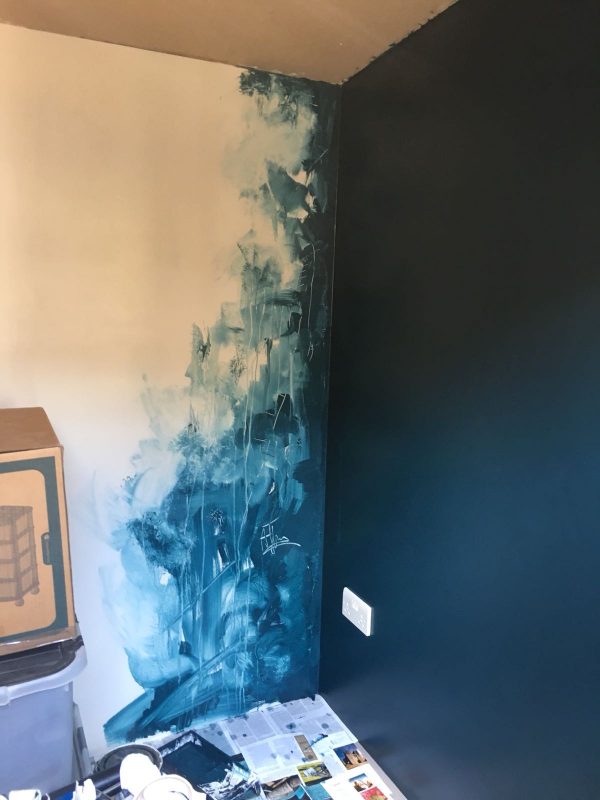
The end (desk) wall was painted in a very dark, slightly green blue. In painting terms I can most liken it to Prussian Blue. I just wanted a bit of strong colour and drama in the walls and the chances of ever being able to use something like this in the house itself are slim (though once she saw it on the shed wall my wife did comment on what a nice colour it is, so who knows…). For similar reasons instead of simply painting up to the corner and leaving a neat hard edge between the dark blue and off white walls, I treated the wall itself like a canvas, blending the two colours together, allowing the paint to drip and generally making painterly gestures and marks.
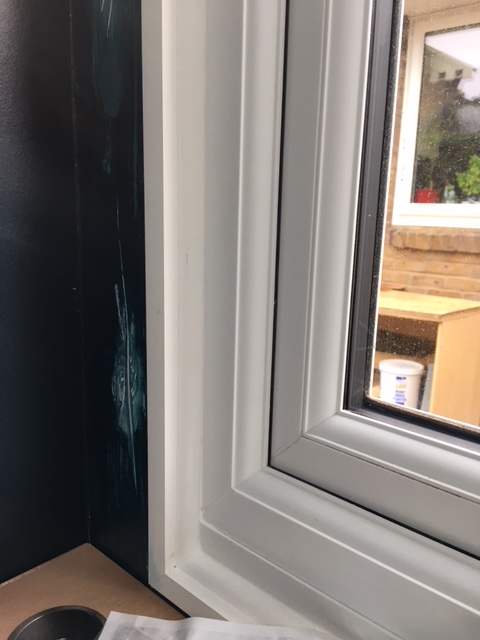
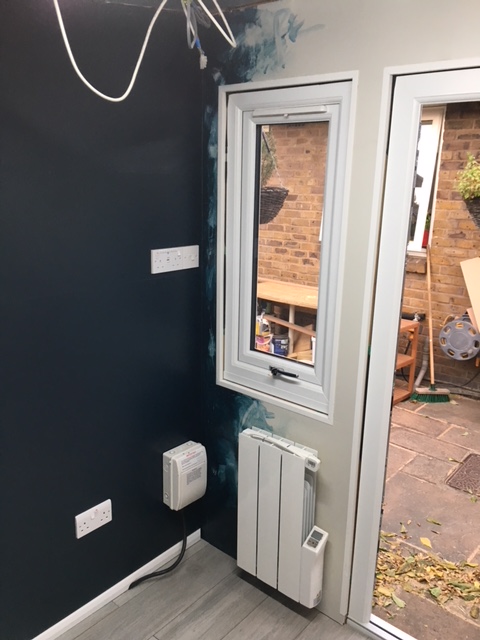
I did the same in the other corner, working around the window. Note also in this photo that I’ve started adding some PVC trim around the edges of the plasterboard – this is simple white PVC 90 degree angle. The radiator is also mounted.
I used some instant grab adhesive to mount a low profile skirting board. This was prefinished MDF skirting – few DIY tasks are worse than painting skirting boards with gloss! Also if I’d painted these myself, there would be zero chance of not getting dust all over the paint before it dried. Where the mains power emerges from the floor I used a half round file to file down the MDF until the skirting fit snugly around the cable.

At the doors, the same half round file proved invaluable to give the skirting the right profile.
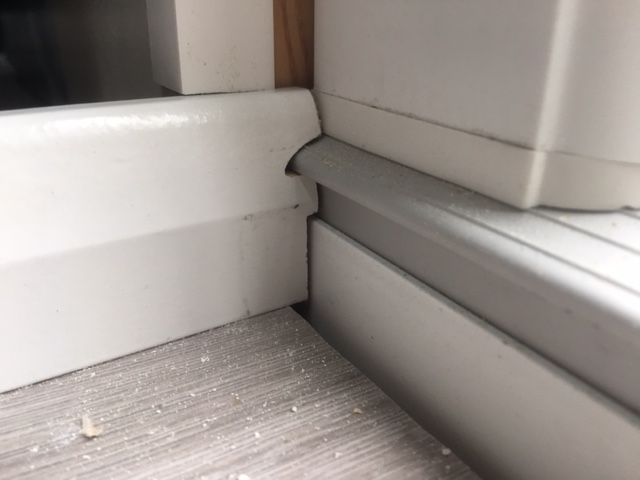
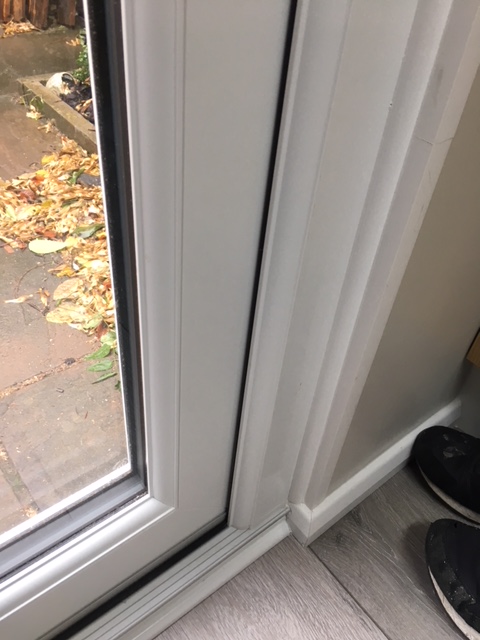
The windows and doors were finished with quarter round PVC trim to cover up the gap between the frame and the wall. With decorators caulk then put around all the trims and skirting, it is nearly impossible to tell that the window and door frames are three different PVC pieces. This also completely seals the shed against the outdoors and I can turn my attention to finishing the internal fit out of storage and work areas and finally move all my stuff in.