With the initial plan done this was the situation: I had a week of post-work evenings left before flying to Spain for a few nights. When I got back I’d have a week and a half off work to get the man cave up and weather proof. That is all walls clad, a complete roof on and windows and doors in place. I would then have another week of post work evenings and a weekend to decorate and begin fitting out the shed. In other words, the plan was to build the man cave in a little over 2 weeks.
Even to an optimist like me it was an obviously tight deadline – especially considering I’d largely be working alone. To give the best chance of hitting it I spent the evenings leading up to my trip to Spain completing all the preparation tasks so that I could start building as soon as I returned.
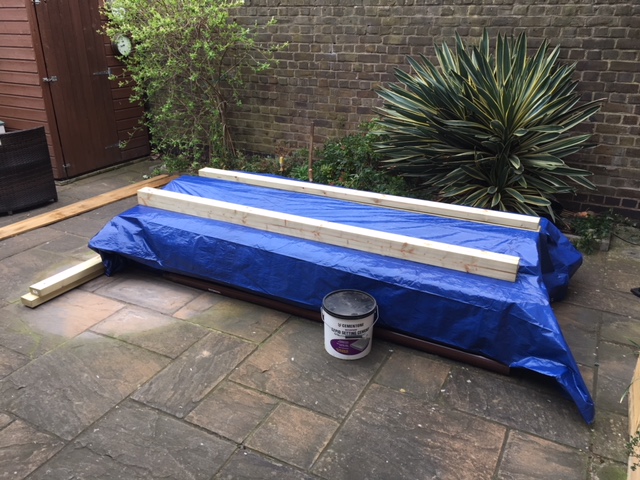
I did a huge click and collect order of timber and tools from Wickes, taking advantage of a bank holiday special offer, and hired a van to collect it. The timber included everything I’d calculated I would need to build the structure of the floor, walls and roof, plus a bit of overage just in case, 2 sheets of plywood for the floor sub surface and 10 sheets of OSB3 (weatherproof “oriented strand board”) for the main external cladding on the walls and roof. All the timber was piled in the garden and wrapped in a huge tarpaulin (in this photo the old shed is top left)
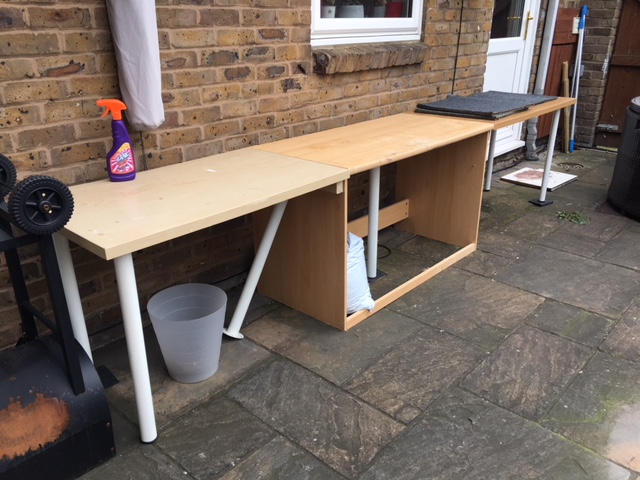
I built a temporary workbench along one side of the garden out of three old desks I’d kept from previous flats, screwed together. They were all in pretty poor states of repair having been abused by years of careless hobbying, so I wasn’t worried about them being ruined by rain. I just wanted a long bench to be able to measure and cut timber efficiently. On this bench would be mounted the most important power tool for building the man cave: a mitre saw.
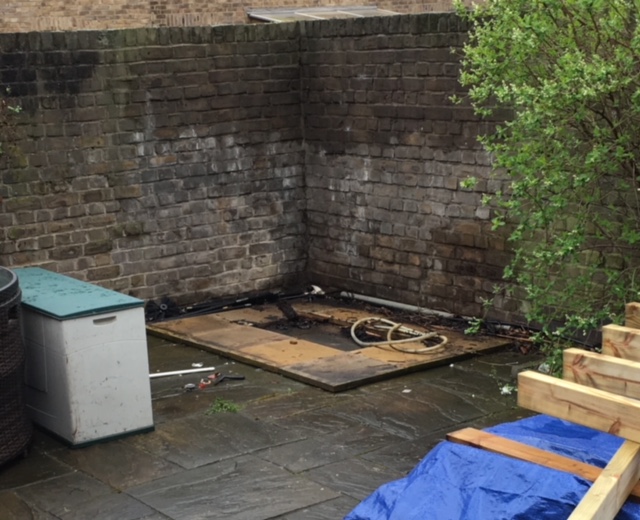
I moved everything from the shed into the house, listed the shed on eBay and with the help of a good friend spent a happy couple of hours dismantling it for later collection. The floor of the shed was almost completely rotten and the filth underneath it was pretty disgusting. Thankfully it was sunny, so it all dried out in short order and could be swept up.
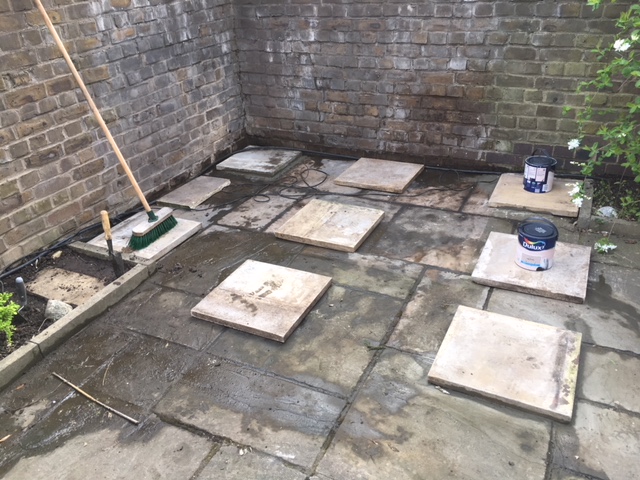
Having cleaned out the corner of the garden I moved on to the foundations. On grass it would be necessary to pour a concrete foundation. For a bigger building I might have dug and poured concrete post foundations. For my purposes I judged the existing paved patio to be substantial enough to bear the weight of the man cave (admittedly with almost no expertise, and mostly based on laziness, lack of any tools to break through the paving and lack of time). So I simply cemented a grid of paving slabs down, trying to ensure they were level, something I’d say I achieved with moderate success. The floor beams will rest directly on these slabs, with the slabs lifting the beams out of any standing water and the gaps between the slabs ensuring that air could flow under the cave (standing water and lack of air flow, along with inadequate timber, were the reasons why the floor of the previous shed was rotted through – note that the slabs in the previous picture do not have any air gaps as they were laid continuously).
Note, because the footprint of the man cave would extend over the flower border to the left, I moved some plants around and then dug down into the border so that I could lay 2 paving slabs as foundation stones there too. I originally wanted to remove the raised slabs at the edge of the border but it turns out they were buried at least two feet into the ground and impossible to remove with the tools at my disposal. I decided to just build around them instead – something I’ll cover when I come to write about building the floor.