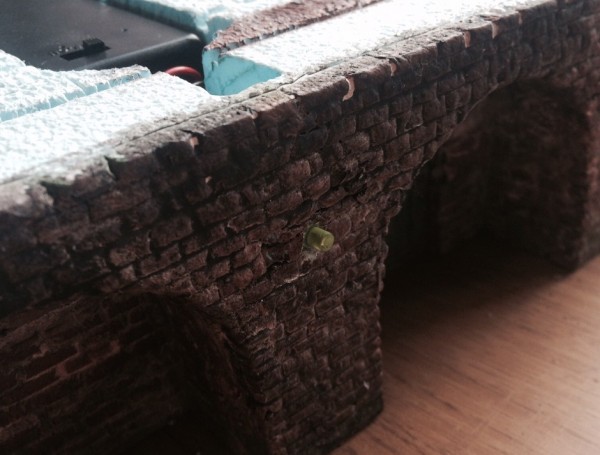
In the last post about LED’s I’d managed somewhat improbably to make an LED turn on. In this post I show the much easier process of embedding the electronics in the terrain (a brick “riser”for my modular Necromunda terrain).
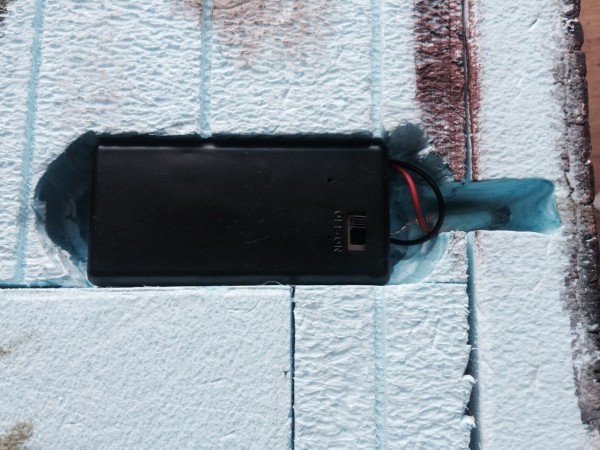
First I dug a hole using a hot wire cutter for the battery holder. I excavated at each end of the holder to make it easy to take the battery holder out later, and cut out a channel leading to the wall edge. I then drilled a small bore hole through the last 1cm of blue foam and inserted all the electronics.
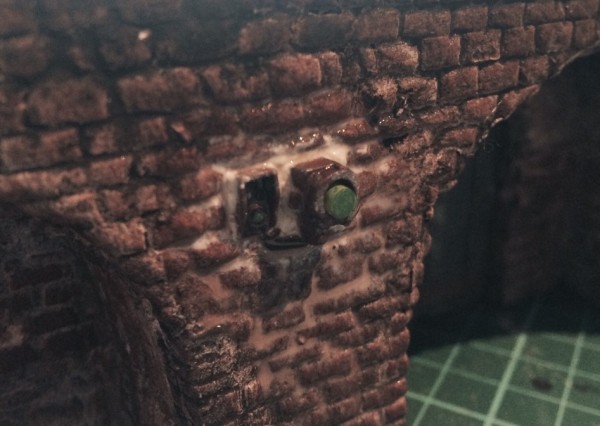
A dig in my bits box turned up the front of a Space Marine missile launcher as a suitable light fitting. After drilling a hole for the LED, it received a quick undercoat of brown red followed by a black wash. I then hot glued it to the wall over the LED and used ready mixed filler to blend everything in. After the photo below, I also applied a black wash and some rust washes to weather everything and further blend it in.
With the power on…
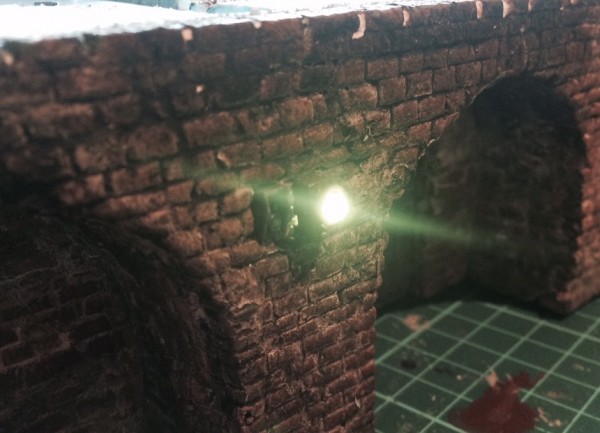
In person the brightness of the LED does obscure pretty much all detail of the light fitting when turned on, so it doesn’t seem necessary to put too much effort into the paint job of the immediate LED surroundings!