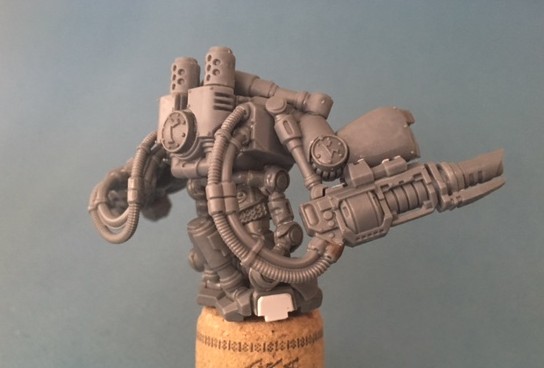
I added the power hoses connecting the weaponry to the main body of the suit. I wasn’t sure I wanted these until the end, but once the arms were attached it was clear there was something missing, and the hoses do look particularly industrial, so arguably are more in keeping with a mining suit than for battle armour. Again, because I’d thrown away the instructions working out exactly which hoses connected correctly was a fun challenge.
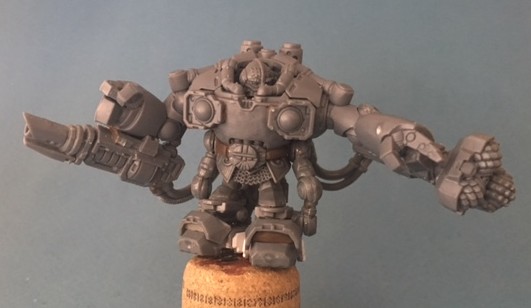
I fixed the head in place at the right angle, and sculpted a new belt for the suit. Without it, the buckle looked entirely out of place. I’m not sold on the suit having a belt particularly, but better a buckle with a belt than a buckle on it’s own. If I did this conversion again I think I’d work out a solution to replacing the buckle entirely.
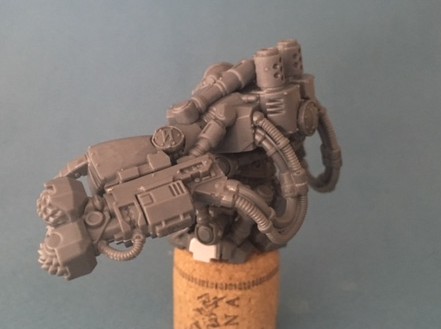
I did a last check for mould lines. Some of the most difficult to deal with on 40k models are those that appear on ribbed hoses. There is a good trick for removing them – first lightly scrape along the line with a scalpel to remove the worst of it, then use some brush on liquid polycement (I use Tamiya Extra Thin) and with repeated strokes going with the direction of the ribs in the hose, you can mostly blend away the mould line without ruining the ribbed detail.
Finally as the model has had an awful lot of handling I gave it a good wash with warm water and washing liquid to remove any grease, then primed it ready for painting.