Well I’ve been struck down with the plague of nurgle for the last few days which has changed my plans re:Amsterdam so got a good day of modelling in instead 😀
The new airbrush arrived:
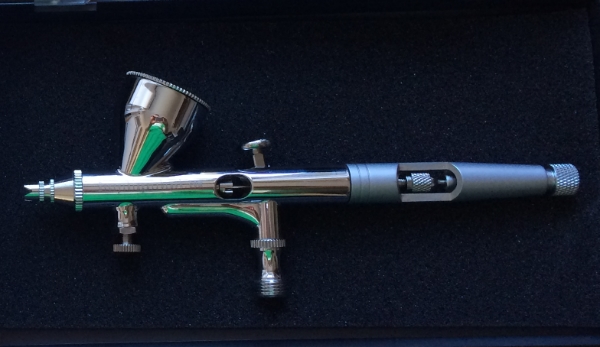
It is from the same company as before (everything airbrush, i.e. a bog standard non branded airbrush). Notable differences to the old one are: it’s a gravity fed one, which I went for mainly because I haven’t used one yet; the air valve is removable (useful if it packs in); it has a variable air pressure valve at the front meaning you can change the pressure without adjusting the compressor (meaningless to me given the compressor is always just at my feet anyway); it has a cutaway so you can see where to slot the needle in (useful, I think not having this may have led to my old needle getting damaged as I tried to force it somewhere it didn’t want to go); it has a much thinner needle and it has a crenelated nozzle which apparently gives a smoother airflow.
I bought this brush because I have been watching Blackadder’s Tyranid log on Warseer, where he paints a nid army entirely by airbrush, and this model (called something different in America, but I’m 99% sure it’s the same brush) got a rave review in that plog. I started using it today and WOW, what a difference. Whether it’s the needle, the nozzle or a combination the brush is far smoother, better at fine lines, and I think I like the gravity fed brush style more as well as you can top up the paint a lot easier. So far this is an absolute bargain at under £30 on ebay.
During the week I had washed (by hand) with Badab Black all the areas of the necrons that would end up with the red showing through. I wanted these areas to have some extra depth added now so they’d be shaded and highlighted when they are eventually revealed at the end.
Today I lined all the bits up again and gave them two zenithal highlights, one with the base coat German Red-Brown, and a lighter one with approximately a 50/50 mix of GRB and Yellow.
That means I’m on to masking any areas that I want to stay red. I’m using art masking fluid here. When fresh out of the bottle it’s quite runny meaning capiliary action draws it into the cracks and crevices of the model. That’s exactly what I need as all the red parts are recessed, like the hip joints, the spine, the neck area. Here are a bunch of legs with the stuff drying – at the back you can see it eventually turns clear.
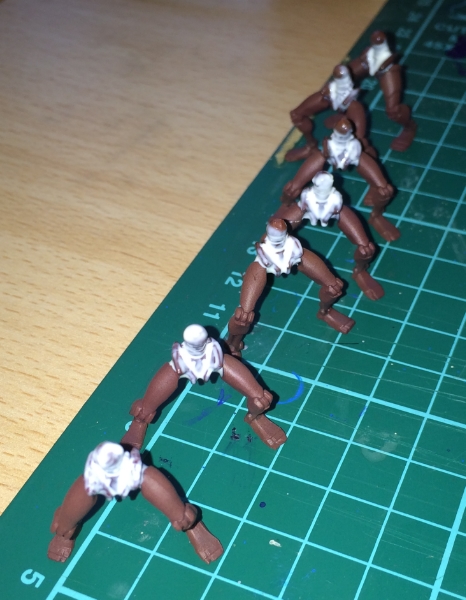
I actually made a video of this masking process but doubt it will ever get to Youtube, so basically what you do is load the brush up with a lot of fluid and “dab” it onto the model somewhere easy to apply the brush, and let physics do the rest as it draws the fluid into the recesses (just like a wash really). Don’t try and paint this stuff into small areas as it’s prone to going everywhere (it ruins brushes too!). I apply it really thickly, because I want it to be really easy to remove later and a thick layer tends to come off in one piece.
I’m about half way through masking now. Next up after that it’s back to the airbrush for some ice blue.